A couple of days ago we talked about the Elbow Lever and gave you a quick lesson on how achieve the skill. If you missed, out I’ll include the lesson at the end of this post just in case.
Today, I’ll be talking to you about a different aspect of the lead-up stunt. The Benefits.

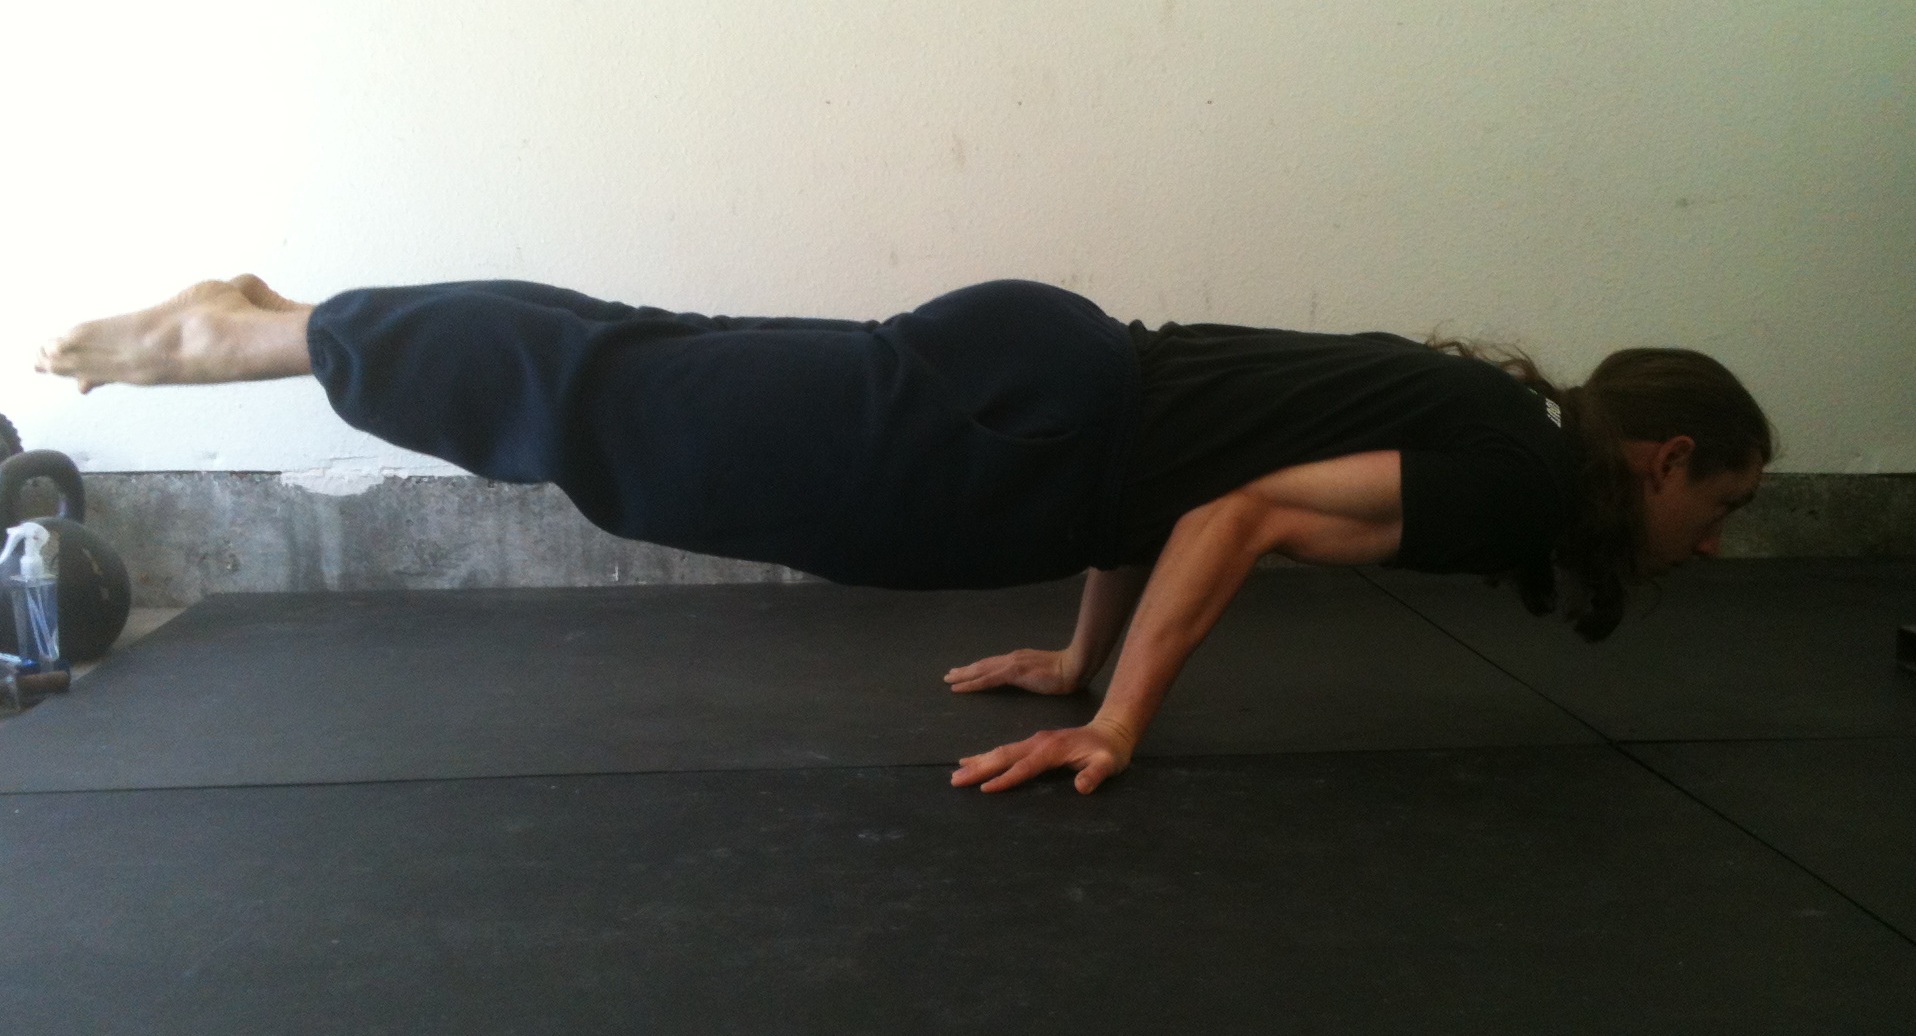
Why is this stunt helpful? It trains the balancing aspect on your hands from a low center of gravity. You also have to keep a decent arch and your body tight or else you will touch the ground with more than your hands.
Internally, these lead-up stunts help to fill in the foundational blocks to understanding how to control your body. Logically, you should strive toward building small successes. The more consistent you are at being successful and learning the intricacies of the moves, the closer you’ll get to that freestanding handstand or more.
Before I forget…
Elbow Lever Quick Lesson:
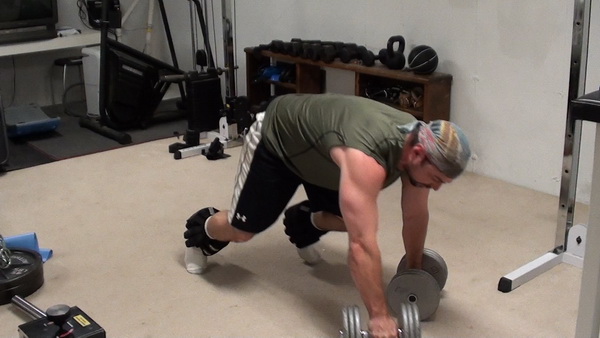
To perform this lead- stunt kneel on the floor, bring both elbows together and place them in your stomach and turn the palms of the hands facing upwards. Now lean forwards slowly and place the hands flat on the floor with your fingers pointing backwards. Arch your back slowly until your toes leave the floor and you will be doing the elbow lever.
You will find the balance a little difficult at first but just keep on practicing. The stunt can also be performed on the edge of a table or on the end of any ordinary bed.
Stay Inverted
-Jonathan Magno
P.S. If you want to own your elbow lever or your other hand balance lead-up stunts check out our handstand mastery course.