Archive | Flexibility & Contortion RSS feed for this section

Ask the Tapps! Weights vs Bodyweight

06_27_01

Hey Everybody!

Last week I told you we’d be getting some great instruction and tips on body movement from the parkour experts, the Tapp Brothers.  Today they are going to break down athleticism and how weightlifting or bodyweight training comes into play toward reaching your athletic goals. They’ve broken down these pieces into the 5 categories below!

Coordination

Trampoline Handbook
Trampoline Handbook on Amazon

The ability to control your body to perform a task.

06_21_04

Strength

The ability to generate force with your muscles.

03_28_05

Speed

The ability to move rapidly.

06_21_01

Endurance

Your body’s ability to resist fatigue.

03_28_02

Flexibility

The ability to reach your full range of motion with body joints.

04_28_05

Watch the video below to see how these pieces work together to build your athleticism!

If you loved the information from this video and want to learn how to be in shape and move like the Tapp Brothers, check out their new program Rapid Primal Fitness!

Stay Inverted!
-Coach Jon

Comments { 0 }

Return of the Tapp Brothers!

If you guys don’t know the Tapp Brothers. They’ve been a mainstay in Online Parkour Instruction for a number of years now. Whether you want to wall run, work on your tumbling skills, or get better at your aerial kicks; they are definitely a resource. We have been long time supporters of their work and wanted to showcase some some of their tips! Expect to see some great parkour and fitness tips from them in the future.

Wall Running

06_21_01

Climbing

06_21_02

Tricking

06_21_04

Tumbling

06_21_03

If you’re wondering what they can do, check this out!

If you want to learn how to be in shape and move like the Tapp Brothers, check out their new program Rapid Primal Fitness!

Stay Inverted!
-Coach Jon

Trampoline Handbook
Trampoline Handbook on Amazon
Comments { 0 }

The Lucky Front Lever

frontlever

Today is Friday the 13th, universally heralded as one of the unluckiest days in history.

(Though it can still be a lucky day for you if you take advantage of Logan Christopher’s 31st birthday sale that ends today!)

Walking and Jumping On Your HandsWalking and Jumping On Your Hands on Amazon

When I think about my personal hand balancing training, I try to remove luck from the equation. After all, training should be about the strength and technique you develop from continued progression. Luck isn’t something you can replicate, it just happens.

But sometimes luck is just what you need. It’s what I needed for my first front lever.

I was in the North dorm at UConn (University of Connecticut) and I was using the hallways as a gym of sorts. I would do pullups on the top lip of my door and handstand walks down the hallways.

On this occasion, as I was doing pullups, I heard a few friends of mine talking in the stairwell at normal volume, and then suddenly get quiet, which was rarely a good sign.

Call it a Spidey-Sense, but I just had the strong feeling that they were preparing to tackle me mid-pullup.

Just as I had the thought (mid-pullup, go figure) I heard sprinting sneakers preparing for a bull rush into my back.

If I got hit while I was pulling up, I would’ve gotten ripped off the door frame and maybe hit my head.

But if I let go, I’d still give them the satisfaction of tackling me, and I couldn’t have that.

In that moment, somehow, I tightened my lats, depressed and retracted my scapula, and executed a front lever in just enough time for my buddy to crash headlong into my desk.

I hadn’t trained the front lever with any consistency, and my progress up to that point had been spotty at best.

So I suppose I just got lucky. I needed that luck though, because I never forgot how my body felt when I performed a front lever, and it helped my progress thereafter.

Plus, it showed some creative practicality of hand balancing skill.

Still, the levers (front and back) are difficult skills that should be trained with focus and progression, and if you want progressions that will give you steady progress, look no further than the Front and Back Lever Training DVD.

Although I hope your motivation involves more personal progress and less tackles.


Comments { 1 }

A Mini-Series on Flexibility Part 3: Full Bridge for Spinal Flexibility

Ok everyone, we are headed into the  final installment of the Flexibility Mini-Series from Gold Medal Bodies! Jarlo and Keira went through many iterations to prep you for the final movement. In today’s post, you’ll be focusing on none other than the full bridge.

04_28_01

The full bridge is an excellent way to increase your shoulder mobility, thoracic extension and rotations, your hip flexors, wrists, and the list goes on and on. While preforming this movement, you basically get a chance to work on the muscles that you never get a chance to. Muscle balance and mindful movement gives you the understanding of what your body can do as well as allow you to delve into those crazy acrobatics. Lets first take a look at the initial bridge demonstrated by Keira.


04_28_02

After getting into the initial bridge, she starts by correcting her curvature and form. She lowers her arms slightly, opens up her chest, and walks her feet closer to her hips.

04_28_03

Once gotten into a more balanced position, she extends her arms and drives up her chest and hips.

04_28_04

In order to achieve a cleaner curve with her bridge, she extends her chest towards the wall she’s facing and her hips to the opposing wall.

04_28_05


To get a full breakdown from Jarlo, watch the video below!

One more thing guys!The GMB special will be ending this Saturday April 30, 2016 and you will lose out your chance to get the program with the NEW BONUSES for $75. After Saturday the price shoots up to $95. Be sure to grab GMB Focused Flexibility Plus program  here: https://lostartofhandbalancing.com/go/focusedflexibility/


Tumbling Illustrated
Tumbling Illustrated on Amazon

Stay Inverted,
Coach Jon

Comments { 0 }

A Mini-Series on Flexibility Part 2: Back Bend Preparation for Spinal Flexibility

Welcome to Part 2 of the Spinal Flexibility Series! In yesterday’s post we discussed the Forward Bend. As the Back Bend is a bit more extensive, its been broken up into two parts. Today’s portion will be focused on the prep work. Pay special attention to the thoracic extensions and rotations as they will directly affect your handbalancing!

04_27_01

The first movement we will be working on is the thoracic extension. While working this movement situate your chest up and hold your shoulders into place.

04_27_02

The next movement pattern in your back bend prep is to work a thoracic rotation. If you have good shoulder mobility, you can keep a locked arm position as seen below. If your mobility is lower, try the position with wrist and elbow behind the back which is viewable in the full video!

04_27_03

The next movement is the first pre-back bending pattern we’ll dive into. In the Kneeling Back Bend, start in a tall kneeling position and drive the hips forward. Lift your chest up and look backwards. A key point is to relax your glutes during this movement.

04_27_04

The next pattern is a deep lunge sequence. The main take away from this movement is to rotate towards the lead hip.

04_27_05

The Camel Stretch is the next pattern. Its a similar movement to the Kneeling Back Bend except that you stay on the balls of your feet and grab your heels to increase difficulty.

04_27_06

Up next is the Quadricep Stretch. Focus on keeping your body between your heels. Another key point to work towards a posterior tilt while in this position to decrease the lower back arch and flatten the back as much as possible.

04_27_07

The final movement pattern is the Shoulder Bridge. In this movement your are going to grab your ankles and push through your quads. Be sure to keep your ankles in line with your hips and relax your glutes do allow your hips to drive up!

How to do the One Hand Handstand by Professor Orlick
ow to do the One Hand Handstand on Amazon

04_27_08

There is a lot of information in this post so be sure to check out the full video here for all of the info!

If you like this information and thought it was useful in your flexibility, GMB has a special going on that will end this Saturday April 30, 2016 where you could get the program with the NEW BONUSES for $75. Afterwards the price shoots up to $95. Be sure to grab GMB Focused Flexibility program here: https://lostartofhandbalancing.com/go/focusedflexibility/

Comments { 0 }

A Mini-Series on Flexibility Part 1: Forward Bending Sequence for Spinal Flexibility

Flexibility and Acrobatics. The two go hand in hand. Yes its true that people need more flexibility in their lives. But for the Acrobatic enthusiast, flexibility takes a stronger hold as you’re going to need much more of it in order to pull off the different maneuver’s and be in tune with your own body. In today’s post, we’ll be looking at a great sequence on spinal flexibility from our friends at Gold Medal Bodies. If you’ve ever wanted to do a back handspring, work on your rolling, or even make your handstands more dynamic, pay attention to this sequence!

04_26_01

Listen to Jarlo as he keys Keira in to the sequence. Keira starts off with some prep work by going in a deep squat with her heels up and feet close together. Her goal here is to open up her hips by rocking back and forth. After working the position for a bit, she kicks back and goes into upward facing dog.

04_26_0204_26_0304_26_04

Once she’s warmed up, she goes into the first sequence. In the Standing Forward Bend her focus is on flexion and rotation. She begins in a deep squat with her hands placed onto the floor to her side. She then drives up her hips and pulls back on her hamstrings while focusing on keeping her heels to the ground. She works the position on both sides. Jarlo gives more detail and another variation in the video.

04_26_05 04_26_06 04_26_07

The Final sequence is the Seated Forward Bend. This sequence is completed at a 45 degree angle. Keira keeps her chest up and extends with her shoulders.

04_26_08 04_26_09 04_26_10


Check out the full video here!

Hand Balancing Made EasyHandBalancingMadeEasy_on_Amazon

I want you all to stay tuned because we have more spinal flexibility tips from our friends at Gold Medal Bodies. For those of you who took advantage of  the Focused Flexibility program about a month back, you should be reaping the rewards as well as the new update that just came out! If you haven’t, GMB has a special going on that will end this Saturday April 30, 2016 where you could get the program with the NEW BONUSES for $75. Afterwards the price shoots up to $95. Be sure to grab GMB Focused Flexibility program here: https://lostartofhandbalancing.com/go/focusedflexibility/

Comments { 0 }

1 Min Tip: Lateral QM Strides and Your Handstand

04_12_01

Learn How to Back Flip in 31 Days
Learn How to Back Flip in 31 Days on Amazon

Hey Everybody! Its been a while since we’ve done a video just for you. So today, we’re coming at you with Lateral QM Strides! This lateral movement pattern is going to you keep your balance as well as to feel the hold on the top end.

04_12_02

The first thing you are going to do is sit into a deep squat and shift your hips side to side so that you can open them up a bit before you start moving.

04_12_03

Start the actual movement pattern by extending your hands and placing them to your sides. You’ll then elevate your hips and land them next to your hands!

04_12_04

Move in both lateral directions and see if you can start driving your hips higher with each pass. Don’t forget that you should do this within the range of your comfort levels!

04_12_05

Finally, see if you can slow the movement at the top end with your hips above your shoulders so you can simulate the handstand hold!

04_12_06

Check out the full video here!

I hope you liked this tutorial!

Stay Inverted,
-Coach Jon
Do you want the quickest  way to develop your handstands?
Then go to our Handstand Mastery Course at:
https://www.handstandmastery.com/

Comments { 0 }

Parkour From Scratch #3 – Wall Run Tutorial – How to start Parkour

Happy Monday Everybody! I hope that you all had a great weekend and I know some of you spent time with the family this past Sunday. We’re starting back on our 3rd installment for the parkour series from TranquilMVMT with the Wall Run!

03_28_0103_28_05

How to do the One Hand Handstand by Professor Orlick
ow to do the One Hand Handstand on Amazon

In this Tutorial. We Start off with your gathering steps. See which distance you have to be from the wall to take 3 steps and be in a nice position in order to place one leg and push off!

03_28_02

The next thing you want to do is drive up with the opposite knee while pushing off with the planted foot. Remember you don’t want to push away, but rather push up!

03_28_03

Finally reach up for the top of the wall, grab the ledge, and pull yourself up using the climb up  to complete your wall run.

03_28_04

Once again their videos are packed with info, so I suggest to watch below and get in-depth!

Remember guys, Parkour is all about getting from point A to point B in the most effective way possible. In order to do that, you have to feel mastery over your own body. With that said, we’ve got an awesome deal this month to jam-pack yourself with the information necessary to gain that mastery. Click Here to develop to start you on the course to Advanced Bodyweight Training!

Stay Inverted!
-Coach Jon

Comments { 0 }

Handstand Pushup Variations

handstand pushup variations

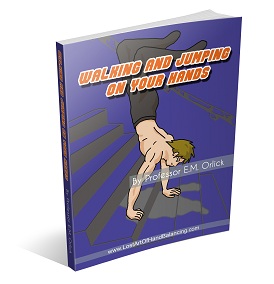
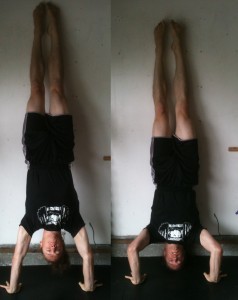
Handstand pushup demonstrated by Logan Christopher of Lost Art of Hand Balancing


The handstand pushup is an advanced hand balancing skill that demonstrates shoulder strength, scapular mobility, and a proper challenge to those who are willing. But let’s say, for the sake of argument, that you’ve already achieved the handstand pushup, and are looking for something a bit more thrilling…some handstand pushup variations.

(Note: these handstand pushup variations aren’t only for the advanced trainees. In fact, variation 2 and 3 helped me to achieve my first HSPU, so don’t be afraid to try something new!)


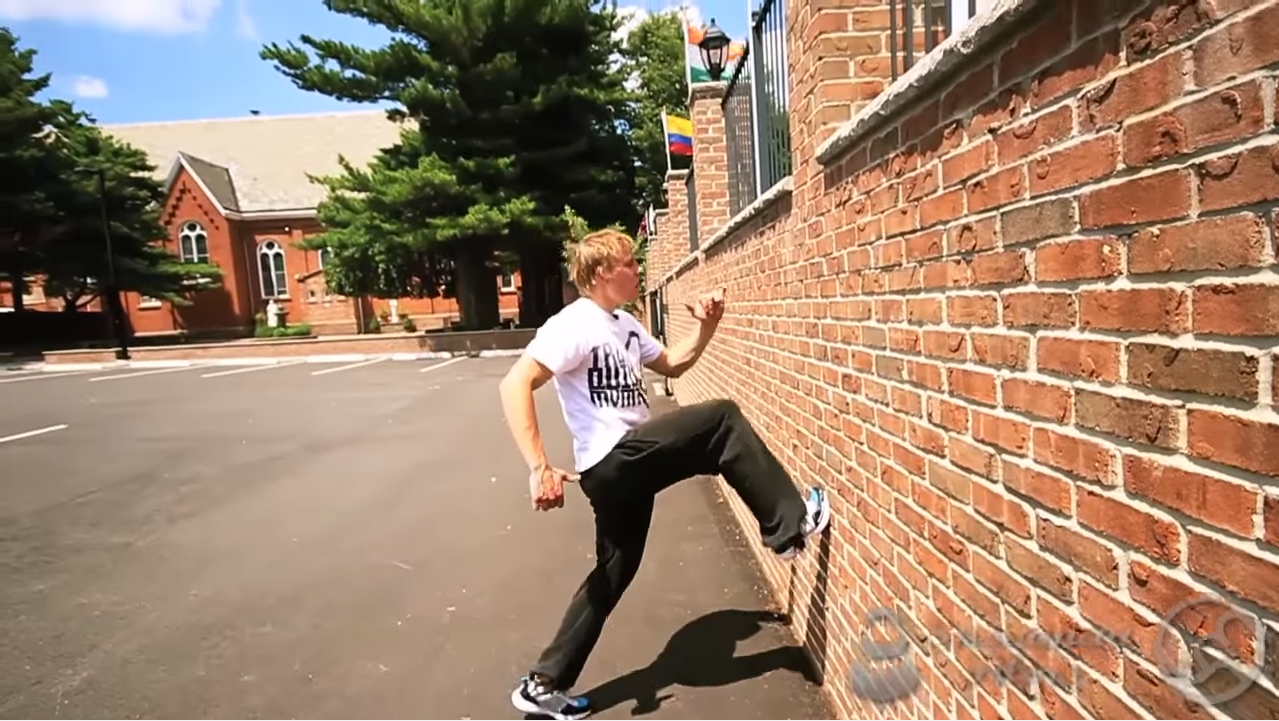
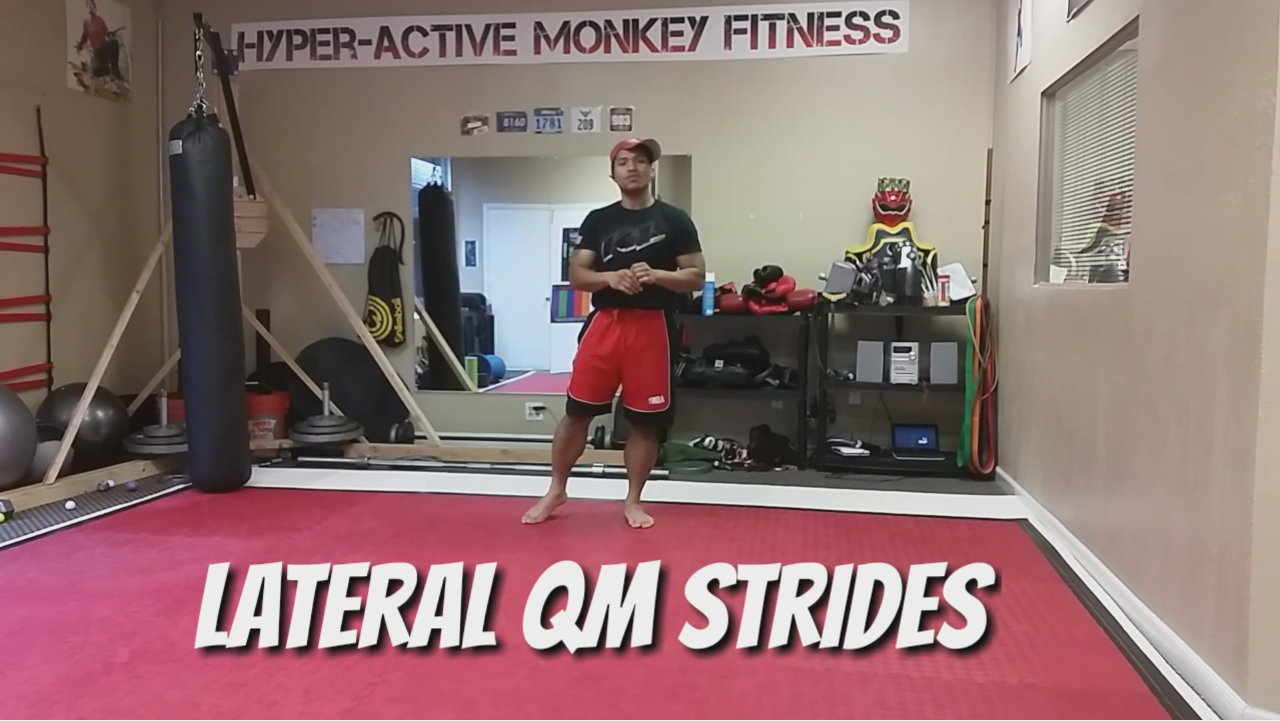
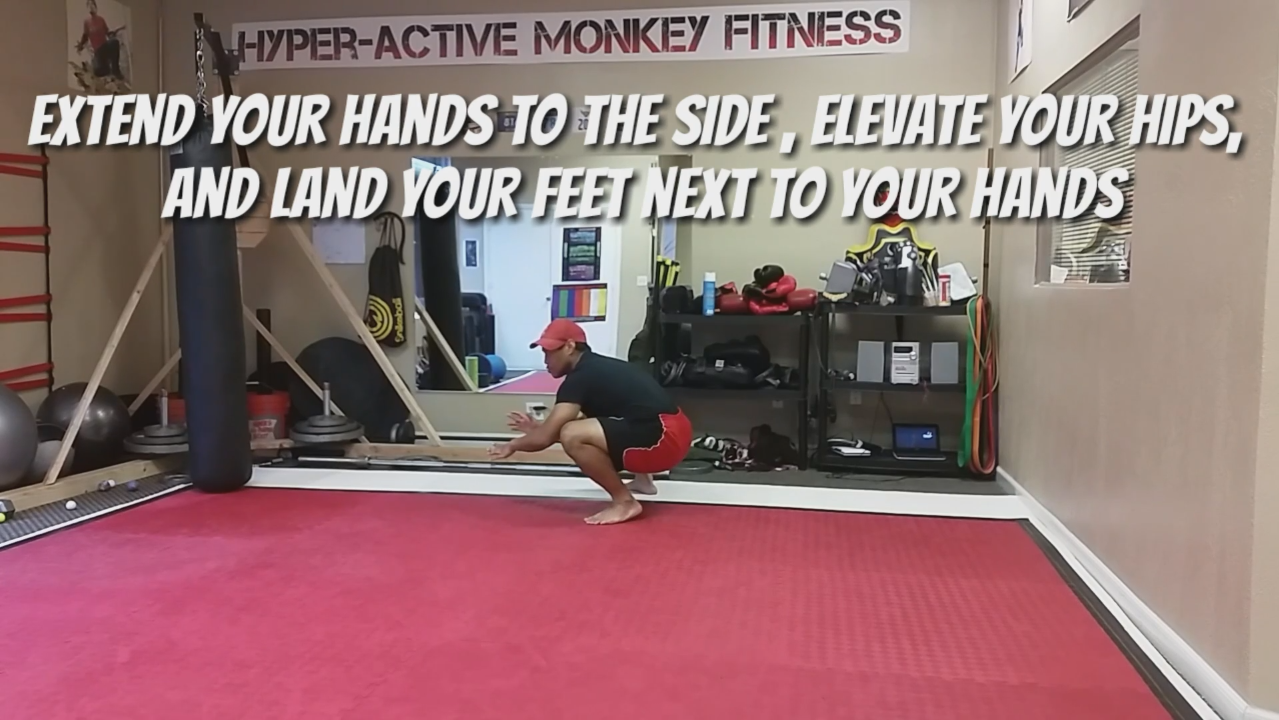
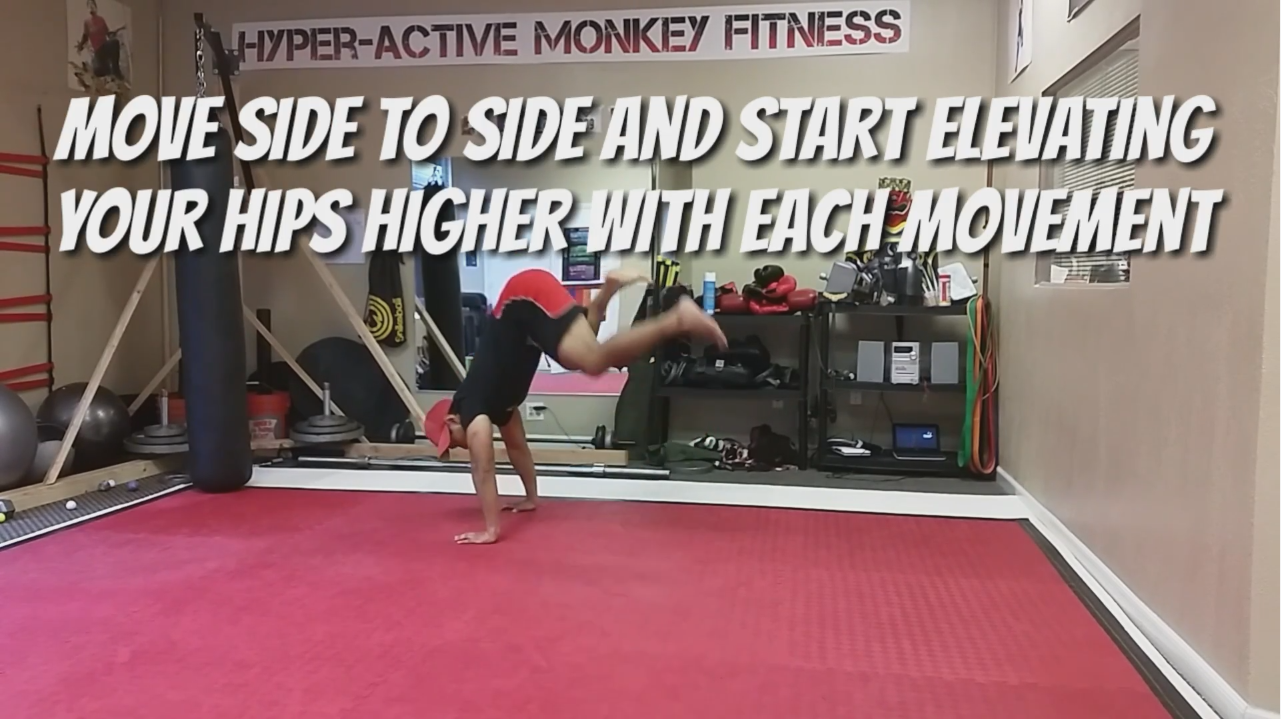
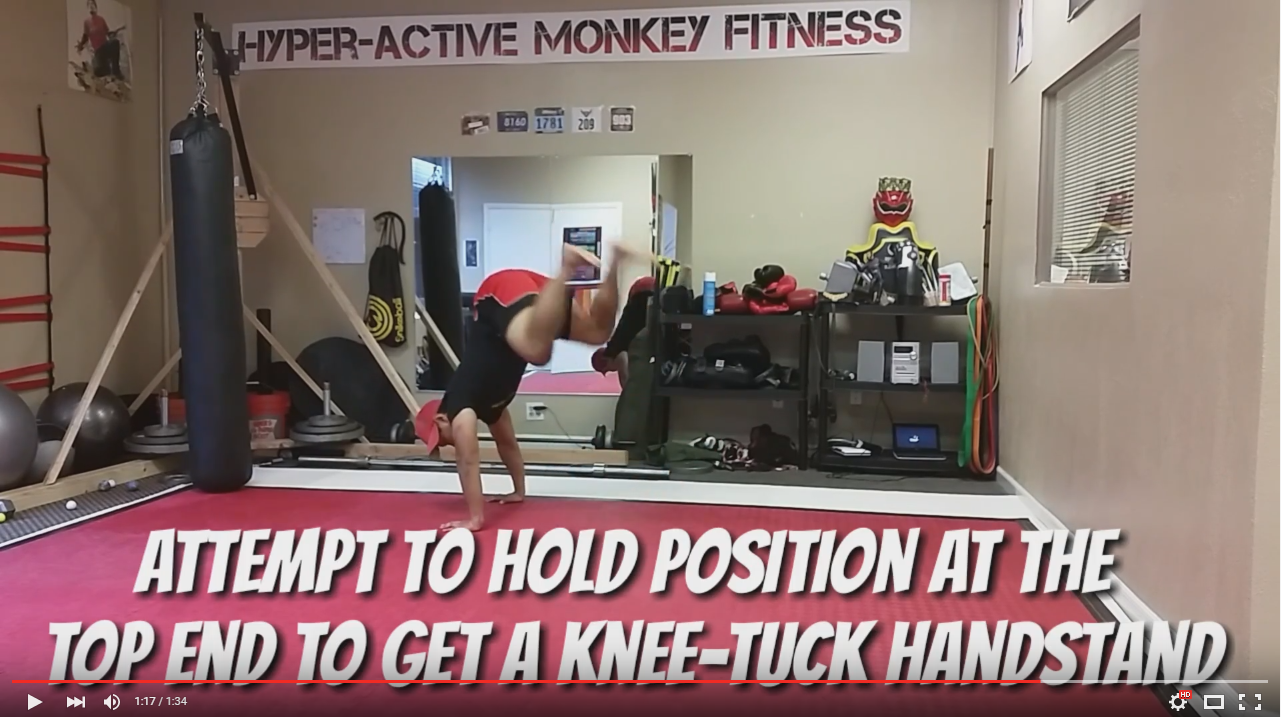
Variation 1 : Lateral Handstand Pushup

Ultimate Guide to Handstand Pushups
Ultimate Guide to Handstand Pushups on Amazon

Well first, what would be the benefit of exploring different handstand pushup variations? Without the variations, there is still sufficient opportunity to progressively improve the intensity of the HSPU and get stronger with each turn. With the variations, however, comes the opportunity to increase all-angle strength in your training.

For instance, while the basic HSPU does a lot to strengthen your shoulders, traps, and scapular elevation, this lateral HSPU variation trains scapular protraction, retraction, and upward rotation. In addition, as your mobility increases, you can slow down and exaggerate the lateral movement to emphasize your one arm handstand balancing skill.


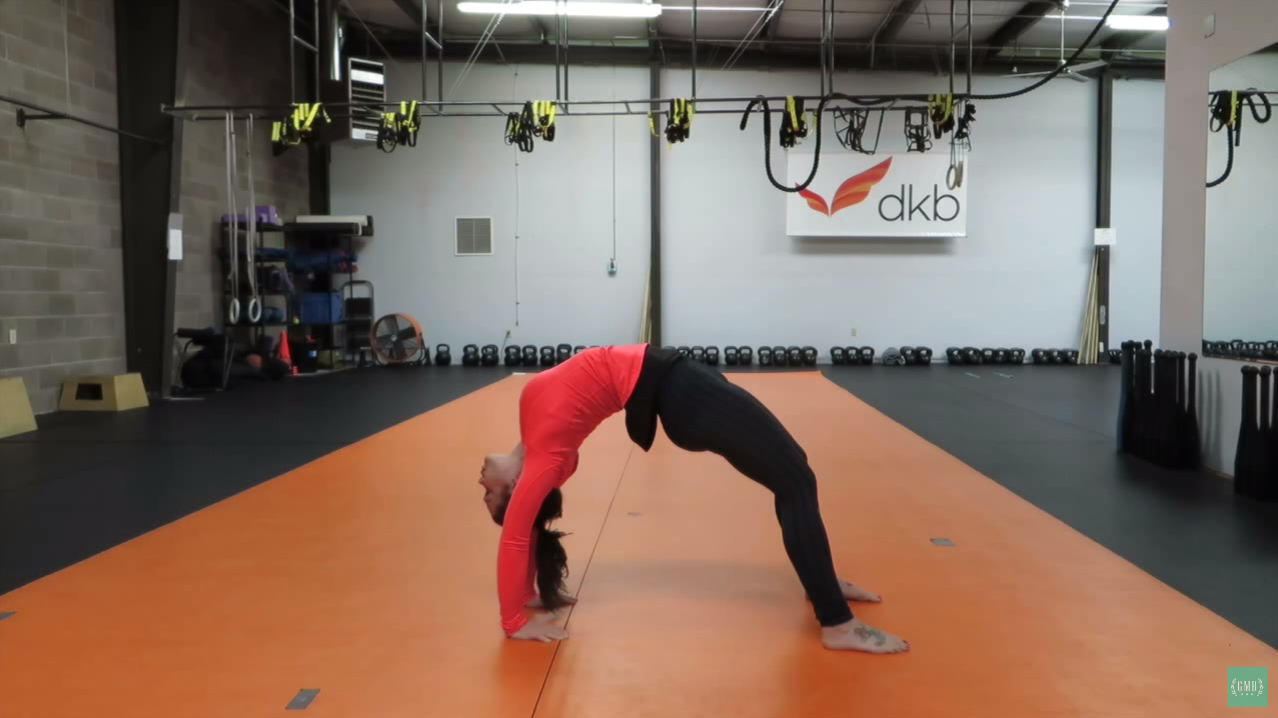
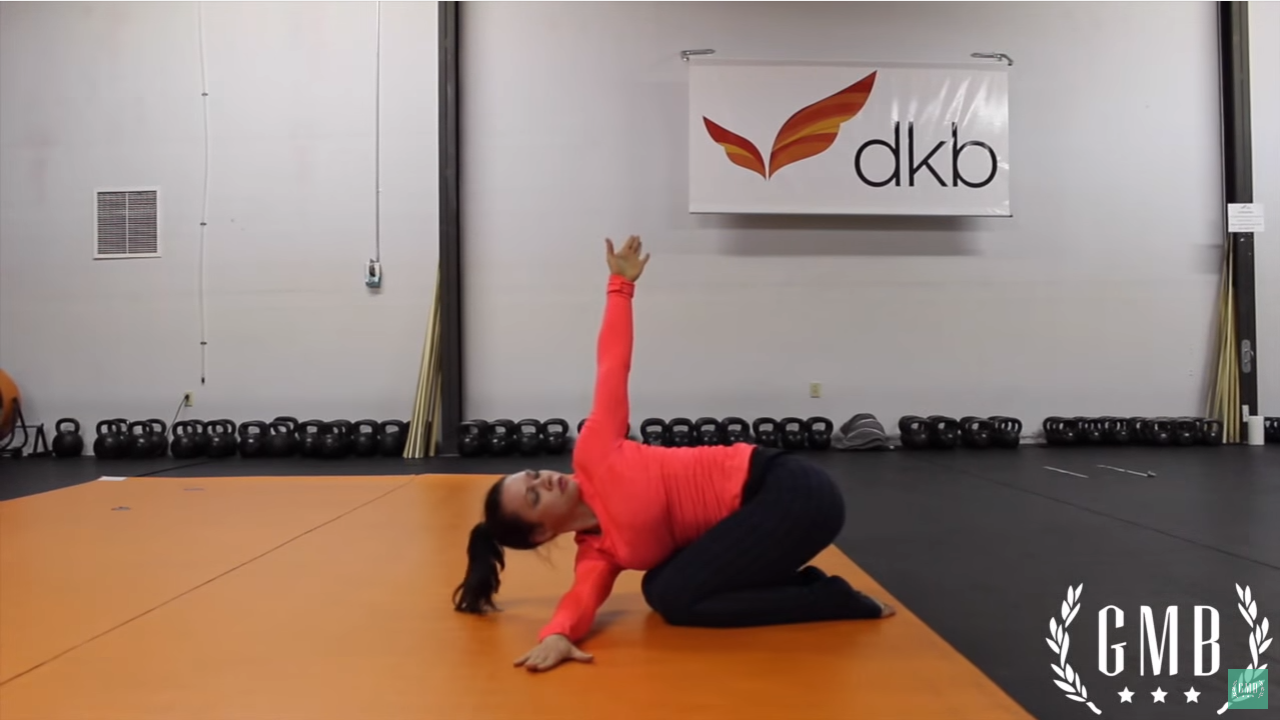
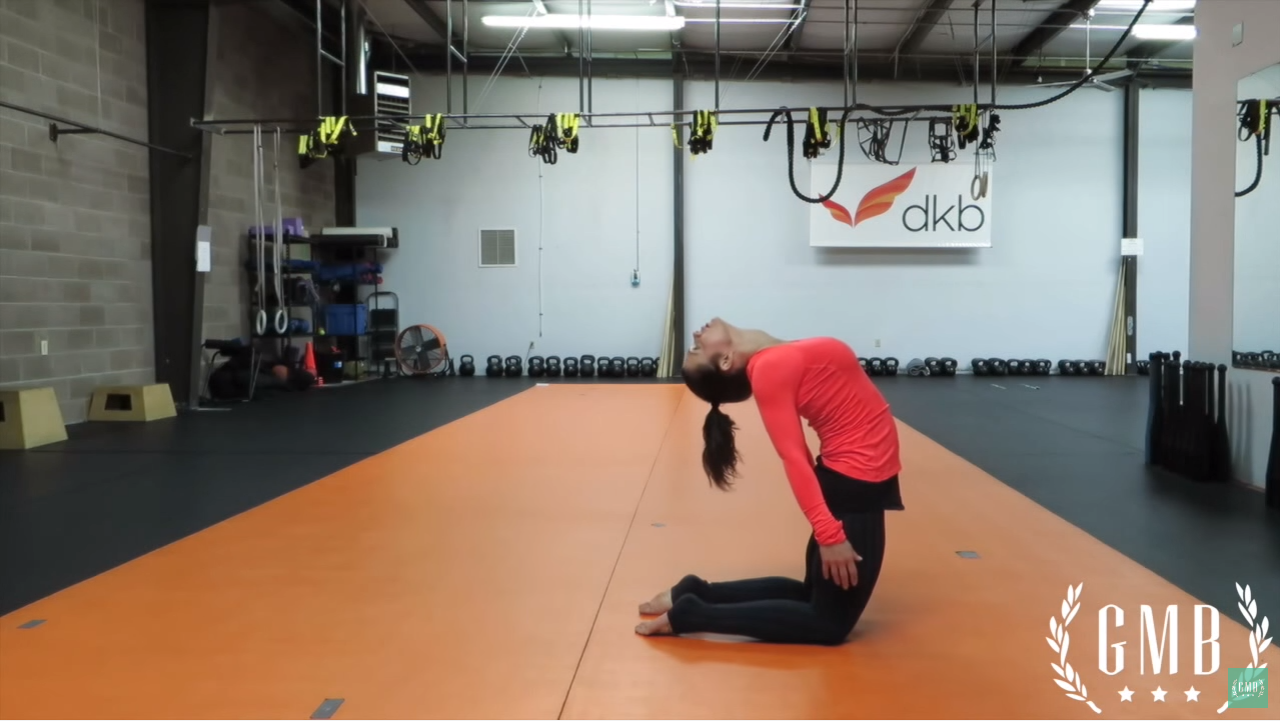
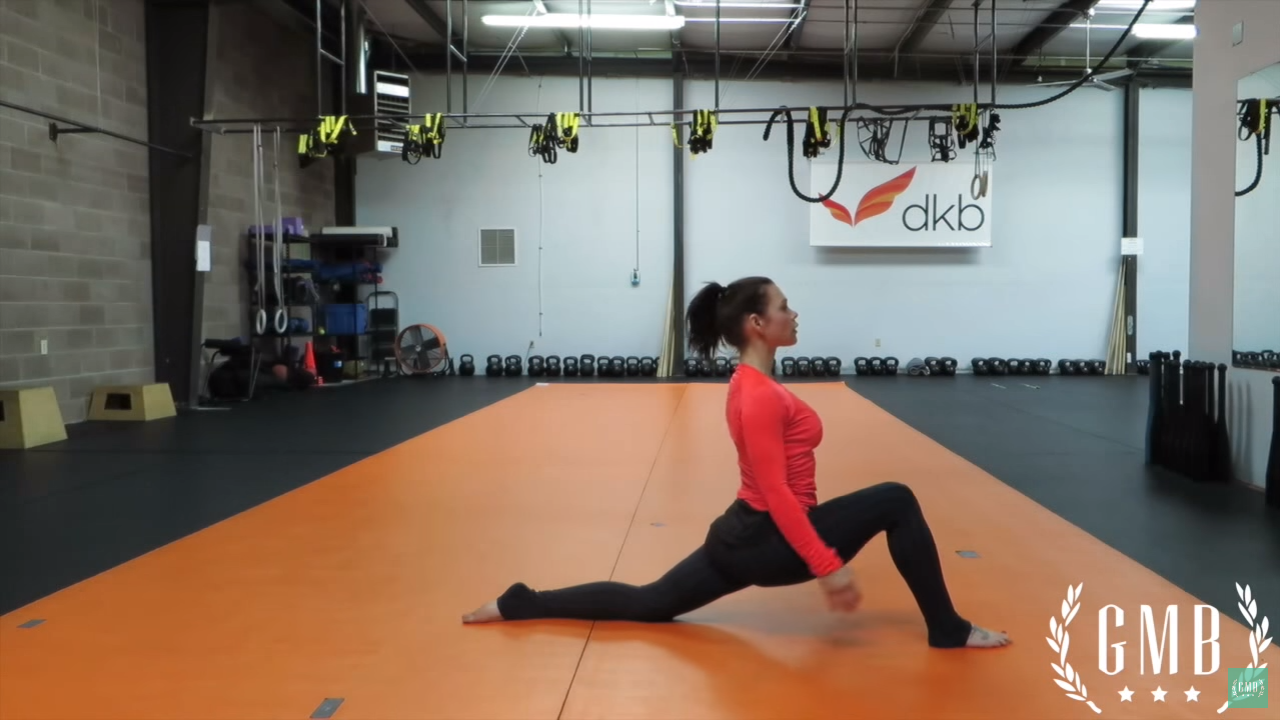
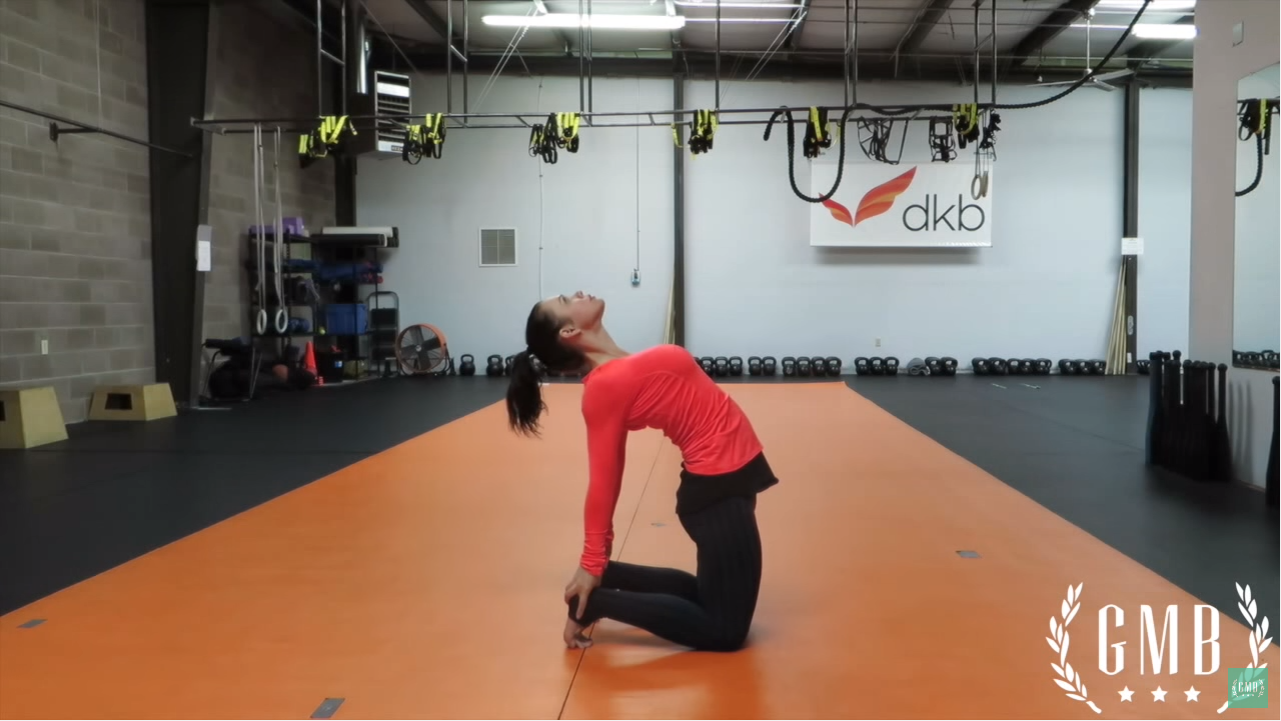
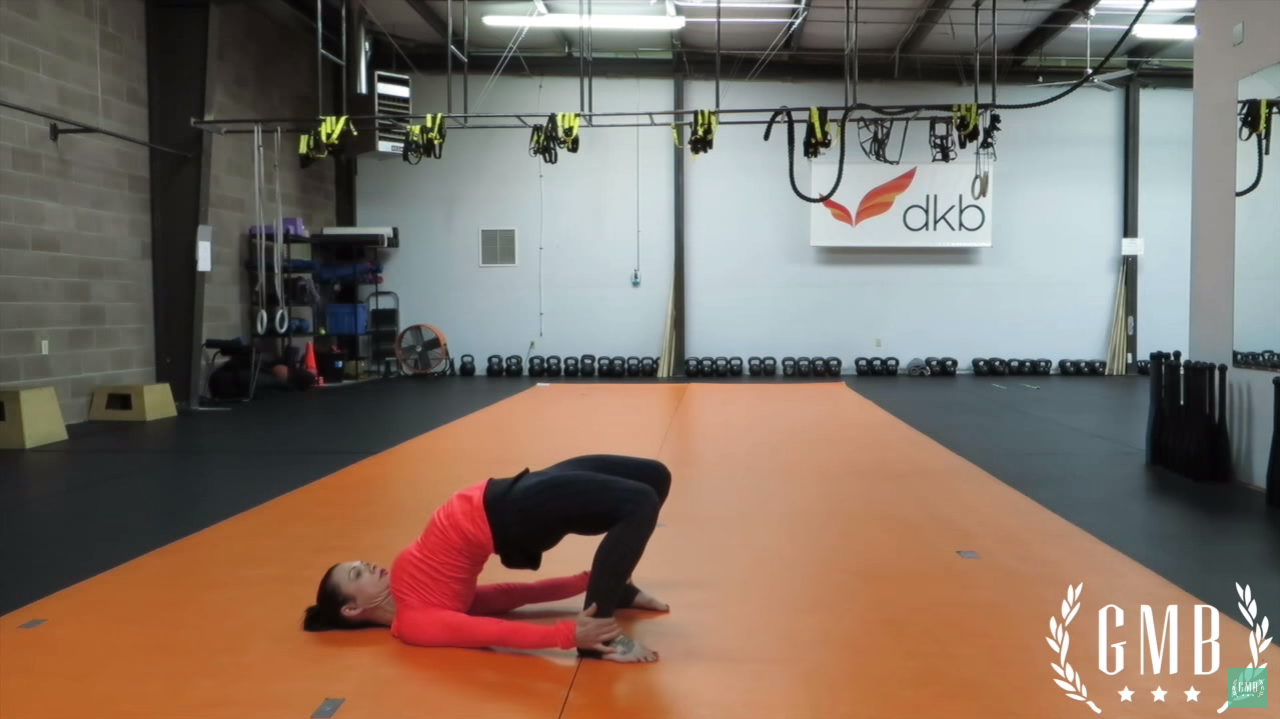
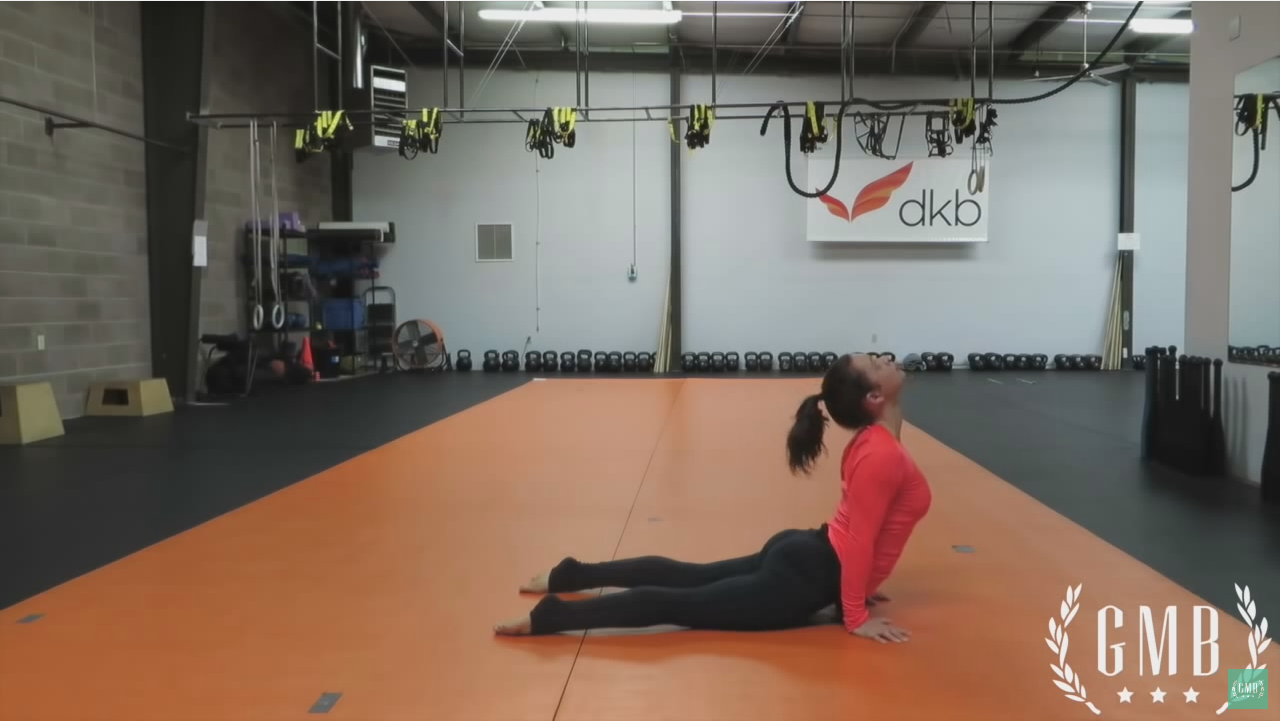
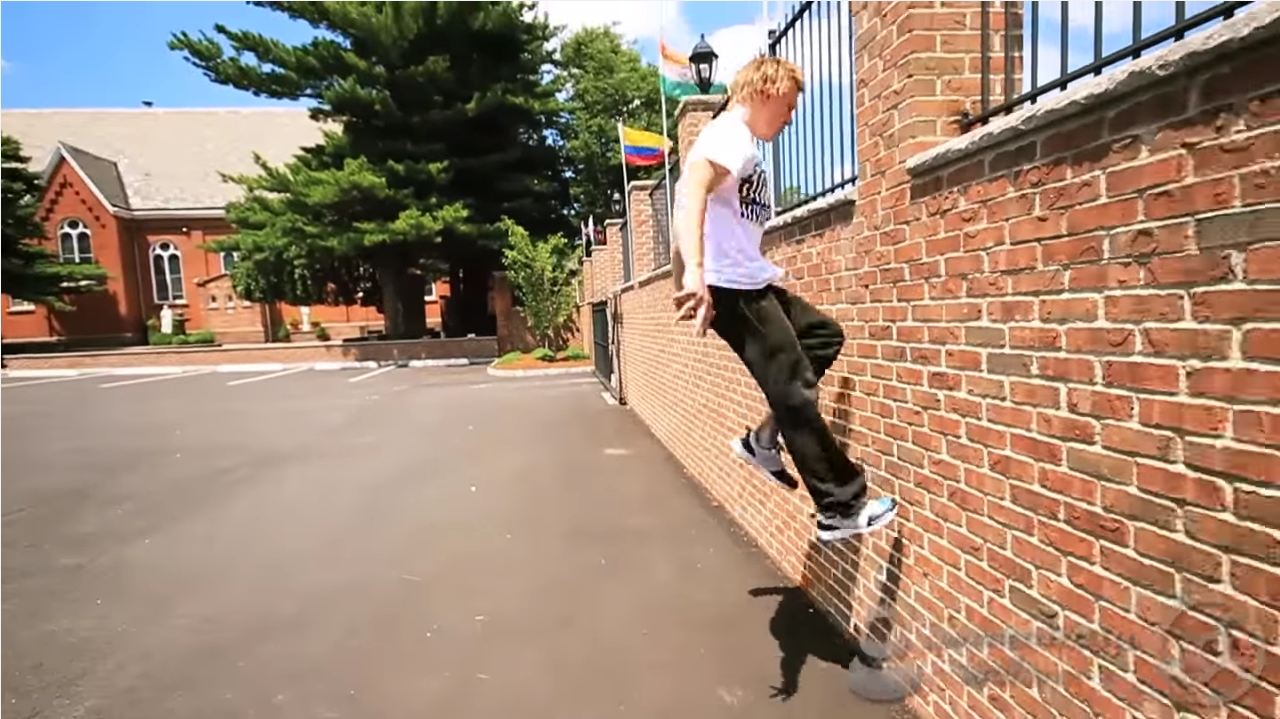
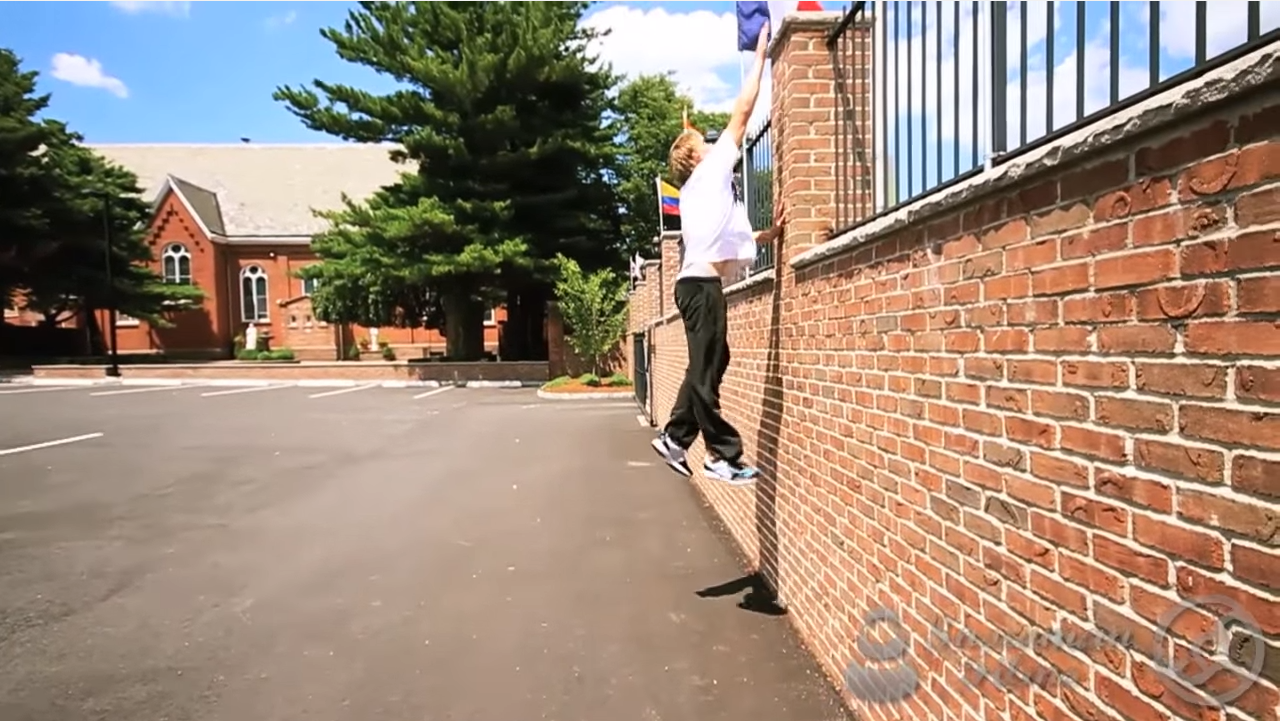
Variation 2: (Elevated) Backbend Pushup

Furthermore, your posterior deltoid has a critical role in your handstand stability, as it is the primary shoulder hyperextensor. One of my favorite handstand pushup variations to train for developing that strength is the back bend pushup.

The back bend alone is a powerful stability exercise that, with isometric tension, can provide incredible strength. The integrated strength, posterior deltoid strength, and scapular mobility that you can build from the back bend pushup will do wonders to strengthen your HSPU. To increase the difficulty of this exercise, elevated your feet by putting them onto a wall.

As I said, this exercise was a huge part of the reason I was able to develop the strength and range of motion for the HSPU.


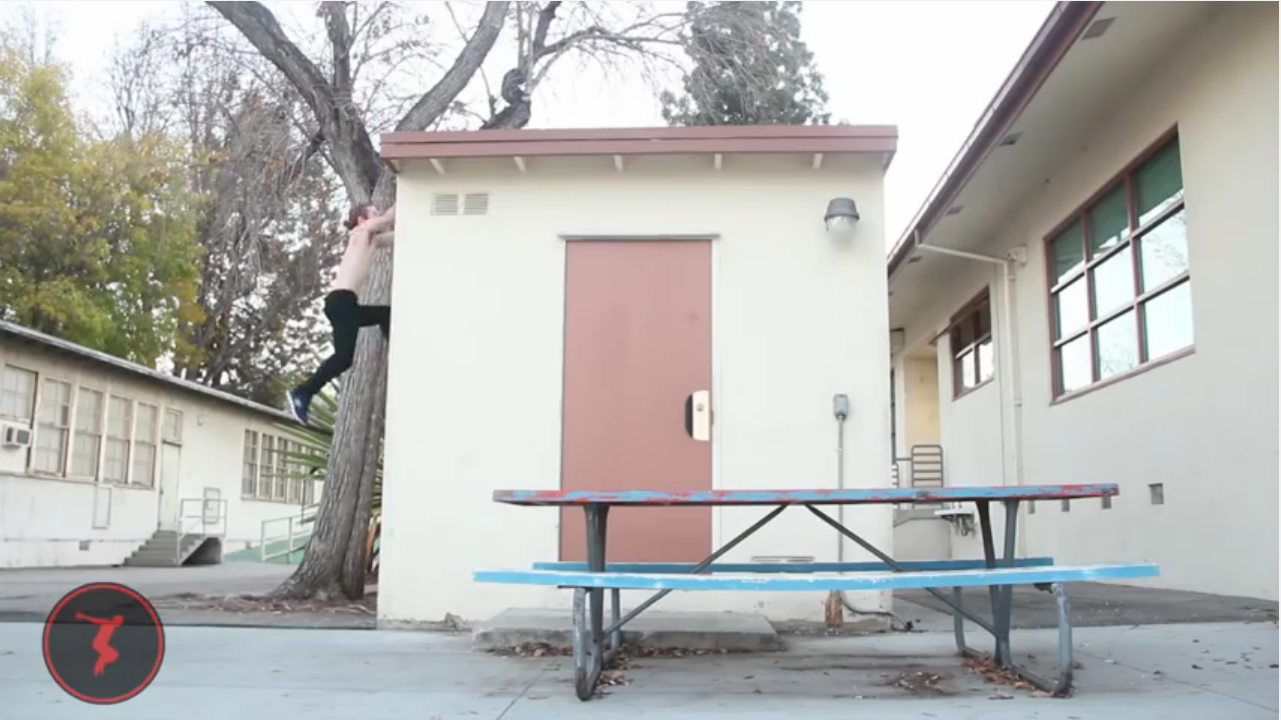
Variation 3: Handstand Walking

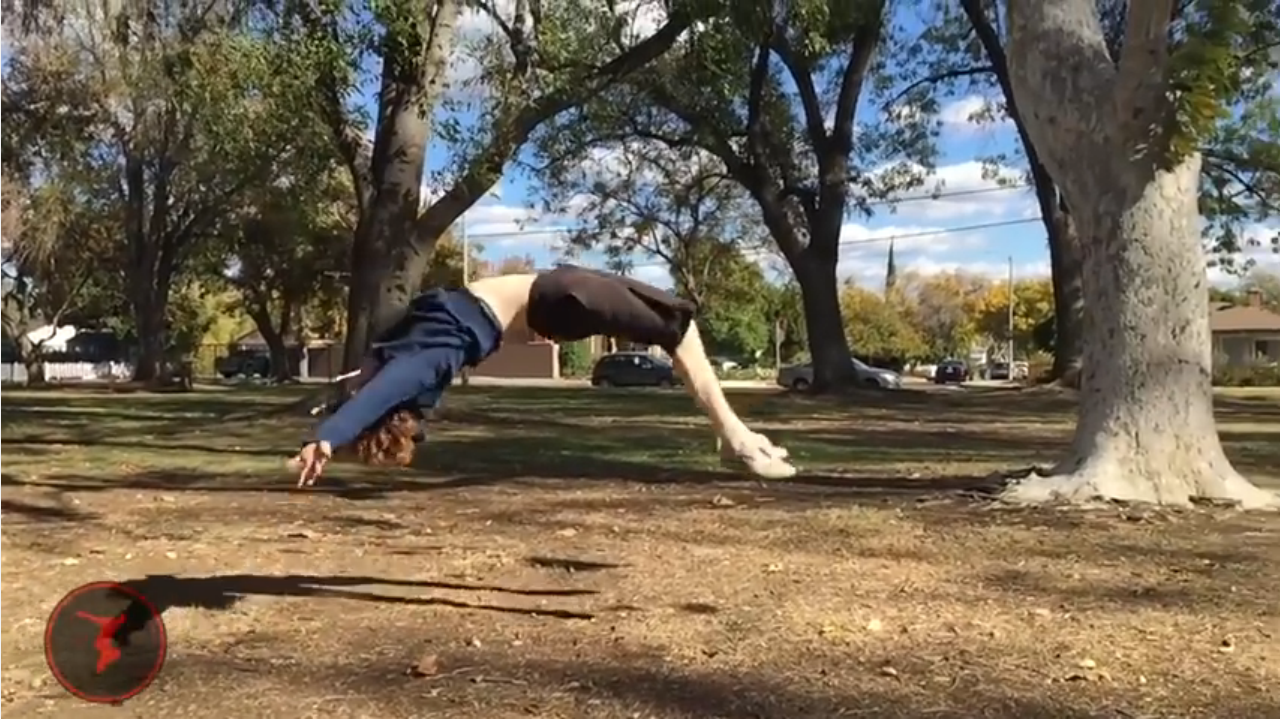
Often times as kids, we have an easier time walking in a handstand than we do holding a stable handstand. However, having the strength to walk in a handstand position without compromising the integrity of your form can develop your technique, strength, and mobility fairly quickly.

This is one of my favorite handstand pushup variations to couple with the lateral HSPU, because it does the same work to progressively improve balancing strength on one arm, but has a much sharper focus on the shoulders and triceps because…well, you’re walking.

When you’re searching to advance not just in strength but also in skill, especially with hand balancing, be sure to add some fun and variation to your training, and you’ll be sure to see some results. Be sure to let us know in the comments how these variations help you, or if you’ve tried them before. Finally, if these do improve your training skill, be sure to share!

Comments { 1 }

Parkour From Scratch #2 – Climb Up Tutorial – How to start Parkour

Hey guys! It’s been a while. Logan and I have been working on the back-end putting some stuff together for you all and I also caught some nasty bug that’s been going around in my area. I wanted to come back strong with something that could put your autonomy, body feel, and endurance to the test. Today, we’re bringing you another segment of Parkour From Scratch with the Climb Up!

03_9_01

The first thing that TranquilMVMT looks at in this tutorial is your grip when you go into the climb.  Some people prefer to grip with the fingers themselves and others with the base of the fingers. Test it out, and see what works for you!

03_9_0203_9_03

The next thing you want to do is figure out which driving foot you feel most comfortable with. Start first in a hanging squat position and then switch legs to see what would work best. Quick note is also to try and see if how long you can hold yourself up.

03_9_04

Trampoline Handbook
Trampoline Handbook on Amazon

Lastly they discuss different ways of driving up from the elbow post, muscles up, and even utilizing a hip drive!(If you don’t know what I mean by hip drive, check out our A-Frame tutorial)

03_9_0503_9_06

Once again their videos are packed with info, so I suggest to watch below and get in-depth!

Parkour is all about getting from point A to point B in the most effective way possible. In order to do that, you have to feel mastery over your own body. With that said, we’ve got an awesome deal this month to jam-pack yourself with the information necessary to gain that mastery. Click Here to develop to start you on the course to Advanced Bodyweight Training!

Stay Inverted!
-Coach Jon

Comments { 1 }