Why 60 Seconds. I’d like to start off by saying that I’m a big advocate of education, skill development, and finding out what it takes to learn effectively. In my last post I talked about gaming and how it could be a new approach with your handstand development. Lets be honest, our bodies are a biological mass created from responses to a multitude of possible external stimuli. Basically the crap that we do with our bodies can change what makes us – us!
I’m not saying that you can jump into a vat of toxic chemicals and become a superhero/villain. What I am saying is that the things we do, has an effect on how our bodies are put together. Here are a couple of possible examples. If all you do for your core are sit-ups, you might have a weak lower back. Like-wise if you do a lot of upper-body strengthening without flexibility work, you might not be able to maneuver yourself into the alignment necessary to balance out a handstand.
So why 60 seconds. We’re using this as a baseline goal to reach for. A guiding light to pull yourself toward without getting lost in the sea of thoughts, stimulus and information. So where does the 60 Second Game Plan come into play with your handstand?
The Lead-up Stunts. Its a pathway of primary goals that can make the path to the freestanding handstand clearer of obstacles.
To partly break it down, here is an excerpt from our Secrets of the Handstand ebook:
Here are your first goals. Before you even attempt the freestanding handstand I want you to work up to one minute or 60 seconds in each of the main lead-up stunts.
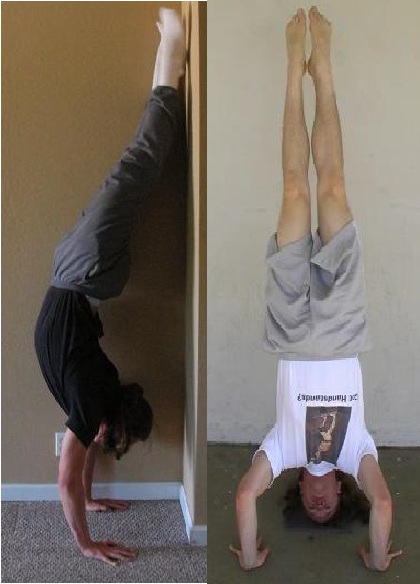
1. Wall Handstand
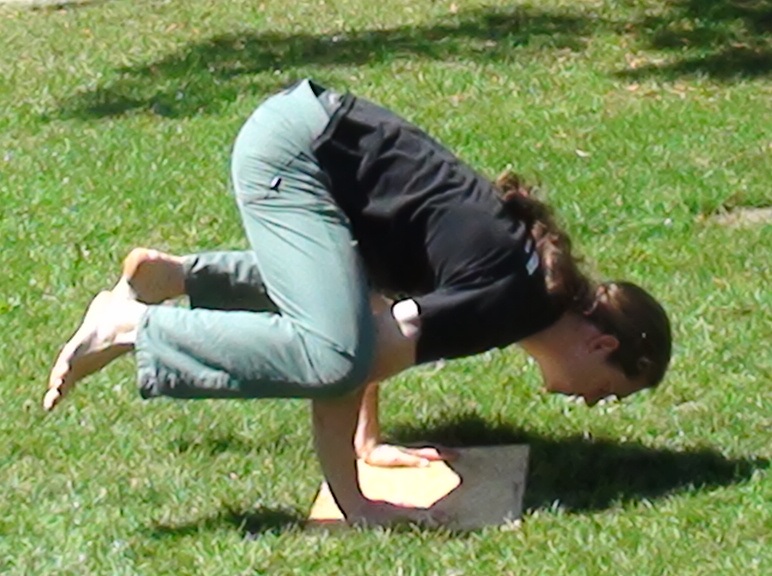
2. Frogstand
3. Headstand
4. Forearm Stand
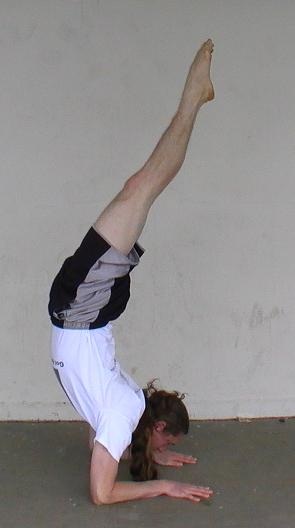
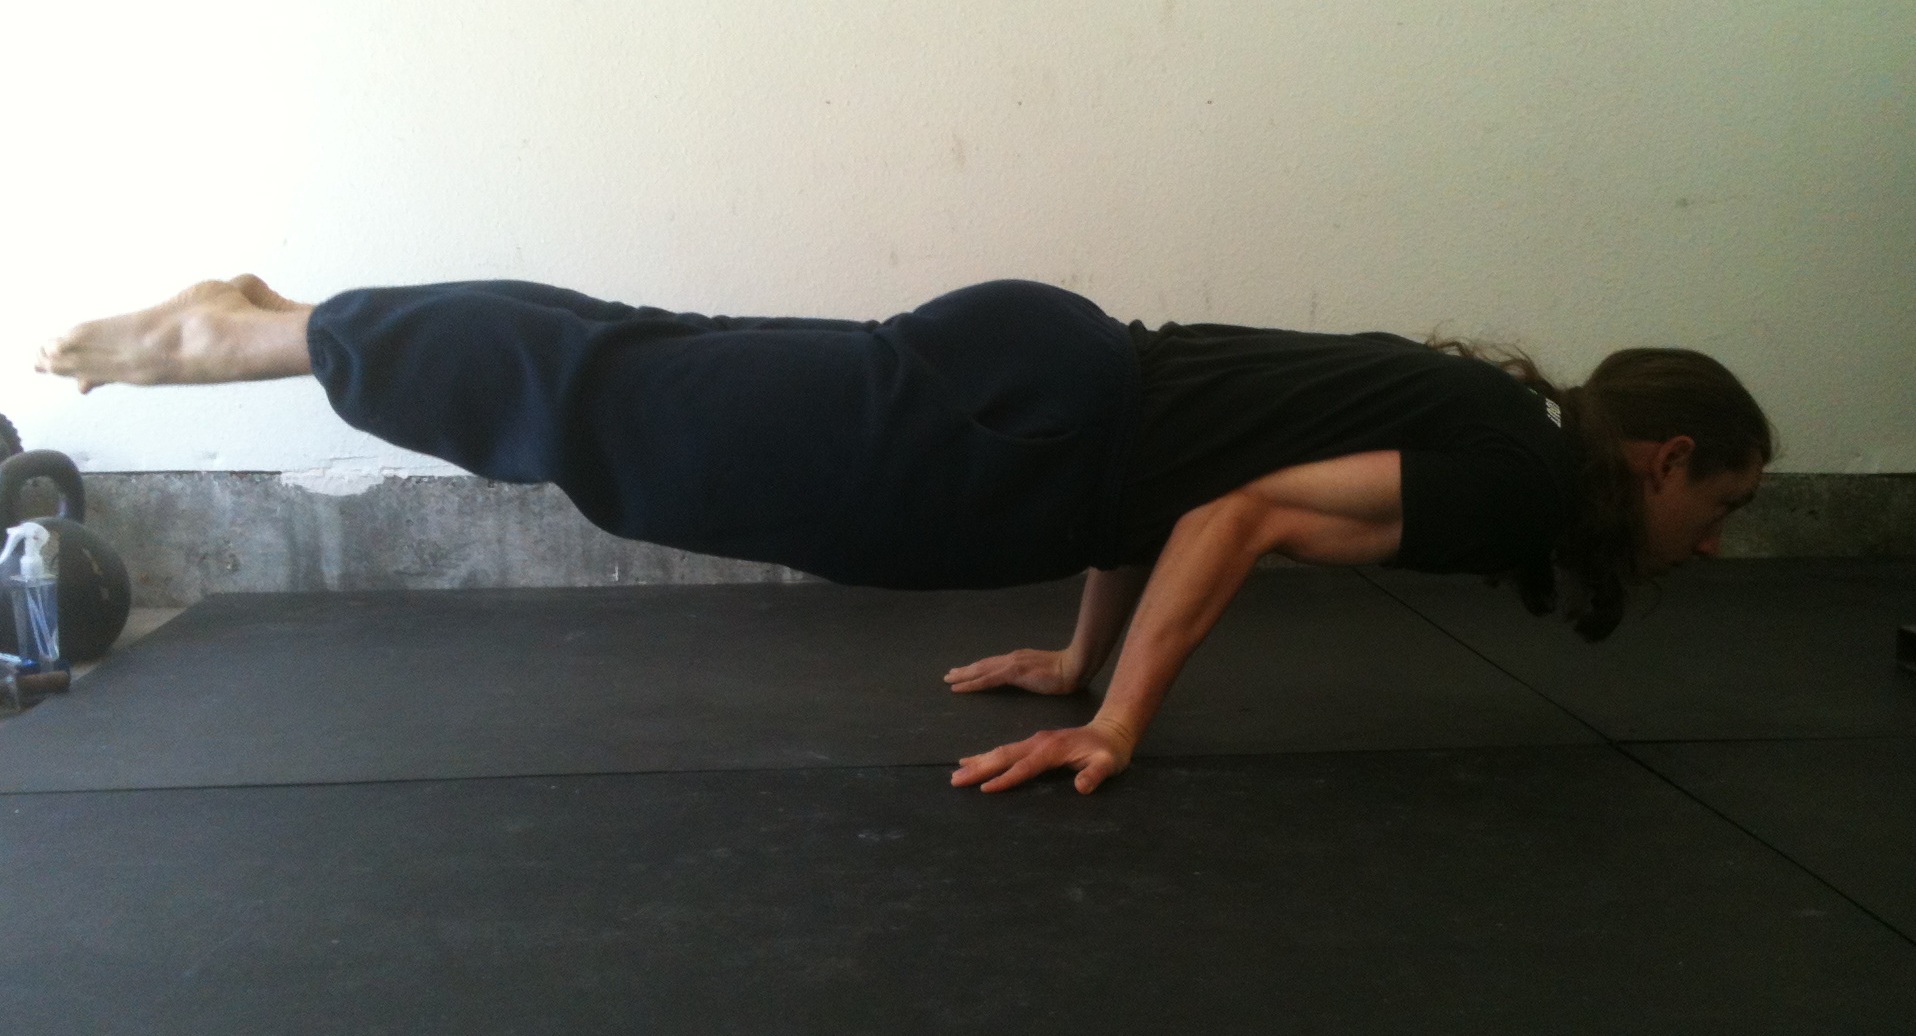
5. Elbow Lever
You’ll find that some of these come easier then others. If they do you can work on some of the other variations. For instance if the headstand is easy, but you’re still working towards the other moves, do the yoga headstand and try to get to 60 seconds there. It’s not an absolute requirement that you master every one of these moves. But if you do build up to 60 seconds in each of these moves, then the freestanding handstand will be much, much easier. Everyone wants to skip ahead to that part, but without the foundation it’s just going to be frustrating work. Contrary to that, working on these moves you’ll probably find you can add time just about every day to most if not all of these moves, at least in the beginning.
So, let’s break it down even further. Each of the different Lead-up Stunts become a different mini-quest on your final journey to the handstand. Each time you unlock one of the 60 second skills, a new set of tools become available to you that can really help you understand and perform the handstand. Some of the unlocked tools could be managing the fear, stabilizing with the hands, or even working on the upper thoracic. Now that you have a better idea about how to turn the development of the handstand into a game, I’ll start going over the lead-up stunts in the next set of posts!
Stay Inverted!
-Coach Jon
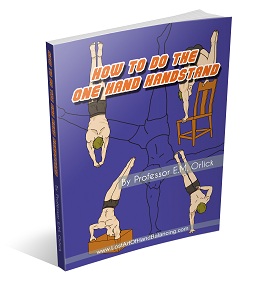
PS If you can’t wait to take to learn more about these lead-up stunts, be sure to to check out the Handstand Mastery Program!