About Sharon

Author Archive | Sharon

How to do a Handstand for Kids

Every kid loves to kick up some dirt and spring into a handstand. It’s a fun way to release energy and show off a little bit for their friends. It’s important to make sure that when learning how to do a handstand for kids, both the child is comfortable and strong enough for the handstand and the adult is comfortable spotting for the handstand. Be sure that you’ve fully mastered the headstand with the child to ensure that they are properly conditioned in order to learn how to do a handstand without injury. Similarly, it is important to make sure that when teaching how to do a handstand for kids, you ensure the safety of both you and the child.

Beginning the Handstand

To begin instructing how to do a handstand for kids as the spotter, get down on one knee just off to the side of the child, near the head. Have the child get down on their hands and knees with their wrists beneath the shoulders, knees below hips. Sometimes it is useful to place a sticker, or a toy between their hands. This keeps their focus down onto the floor where it is needed in order to safely perform the handstand. Before the child begins, as the spotter, place your hand on/under their shoulder. There is a real possibility that the child’s elbows will buckle and they could fall onto their head. Having your hand in this position can help add support and prevent head and neck trauma in the event of a fall.

Going into the Handstand

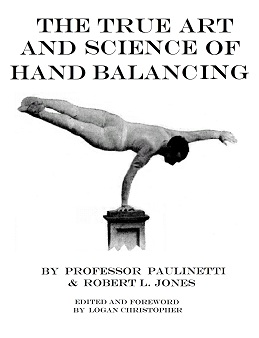
Hand Balancing Made EasyHandBalancingMadeEasy_on_Amazon

Similar to the headstand, in order to go into the handstand, the child should bring one knee in towards their chest while extending the other. As the spotter, place your hand under the extended leg to assist. The child should then push off using the bent leg, lifting the extended leg, and bringing up the bent leg to meet it. If the child has trouble pulling their legs straight up and together, just work on the push off and bringing the legs together without worrying about getting the legs straight up. When you’re both comfortable, you can try for the fully extended handstand. Be sure to always provide proper support while the child is learning now to do the handstand.  Again, it is always important to ensure the safety of both you and the child.

Posture during the full Handstand

Once you and the child are comfortable and they have lifted into a fully extended handstand, you can focus on the proper posture while holding the handstand. Be sure that both you and the child have your tummies tucked into your backbone. As the spotter, slide your hands up the length of the child as you straighten your knees to standing. Focus your support on their waist. At this point, you can add an element of fitness to the pose. The ‘straddle’ and the ‘pike’ are two fitness positions you can add on once the handstand has been mastered.

Comments { 0 }

How to do a Headstand for Beginners

A headstand is an intense display of upper body strength. To attempt it without proper preparation could lead to severe personal injury or permanent damage to your body. It is also probably not best for you to jump into something like the headstand without having any idea of what you’re doing. It’s important to build on your core and shoulder strength before attempting to learn how to do a headstand for beginners. This is one of the more enjoyable and extreme gymnastics moves to master, and it’s best to have someone with you to spot you when you’re first learning on the process of a beginner’s headstand. People commonly feel refreshed and revitalized after being in an inverted position such as the headstand.

How to do the One Hand Handstand by Professor Orlick
ow to do the One Hand Handstand on Amazon

Preparing to Enter the Headstand

  • While facing a sturdy wall, lower yourself onto your elbows and knees.
  • Keep your hands together in front of your head and place the center of the top portion of your head down onto the mat.
  • Make sure that you never put the back portion of the top of your head down on the mat.
  • If you can’t go exact center, further to the front is acceptable.
  • Keep your elbows fairly close together by lining them up under your shoulders. Keep your breathing controlled and steady.
  • Now, straighten your legs by lifting your knees and buttocks and bringing your heels off of the ground. Rock back and forth on your toes a bit to get loosened up.

Entering and Exiting the Headstand Pose

The last step to learning how to do a headstand for beginners is to actually do the headstand.

  • Start walking your feet, on their tiptoes, closer and closer to your head.
  • Once it feels right, lift one of your legs up to the wall.
  • Let your other leg follow the first one up; this is a great time for your spotter to step in and help you straightened up.
  • While you’re in this pose, take some deep cleansing breaths. If you feel comfortable, close your eyes and count to five.
  • Don’t stay in an inverted pose like this for too long at a time.
  • Make sure that you do this slowly and in a controlled way.

Part of learning how to do a headstand for beginners is to learn how to make every movement involved steady and controlled. It keeps you from injury as well and helps strengthen your body against its own natural resistance.


Comments { 0 }

How to Do a Handstand Pushup

We’ve all seen them. They looked real cool and impressive. Here are some ideas on how to do a handstand pushup.

The first thing to do is to warm up your shoulder muscles. You can do this by simply shrugging your shoulders several times. Continue by making your arms into wings and flapping them up and down. A final exercise is to swing your arms in a circular motion around the shoulder socket. These will get your shoulders in the correct condition. Once you are warmed up, you are ready to begin the handstand pushups.

Beginners who want to know how to do a handstand pushup should use a wall or spotter for support. Start by placing your hands about a foot from the wall. While locking your arms, kick your feet up and over until you are touching the wall. Once you are in the vertical position, slowly lower your body down to the floor. It is a good idea to put a towel or pillow under your head to avoid injury or banging your head on the floor.  Lower your body to the floor as far as you can go. Make sure you do this slowly. A fast movement will not train your muscles properly. Do as many reps as you can. If you kick out of a handstand after each repetition, you will help train your muscles to prepare for the weight load when you do your handstand pushups.

If you have done a handstand pushup before, you can try a more challenging approach by getting into a headstand position and raising your legs up to your elbows.  From here, you can lift your legs vertically to form the handstand shape.  Another good strategy is to simply walk over onto your hands while your arms are fully extended above your shoulders. You just lean forward and walk your legs up to the upright position. From there, you can press down and up. If you’re looking for a real challenge, try doing a handstand pushup with your legs at a 90 degree angle. Be careful not to put too much stress on the shoulders. They are easily torn.

Once you know how to do a handstand pushup, you will be hooked.

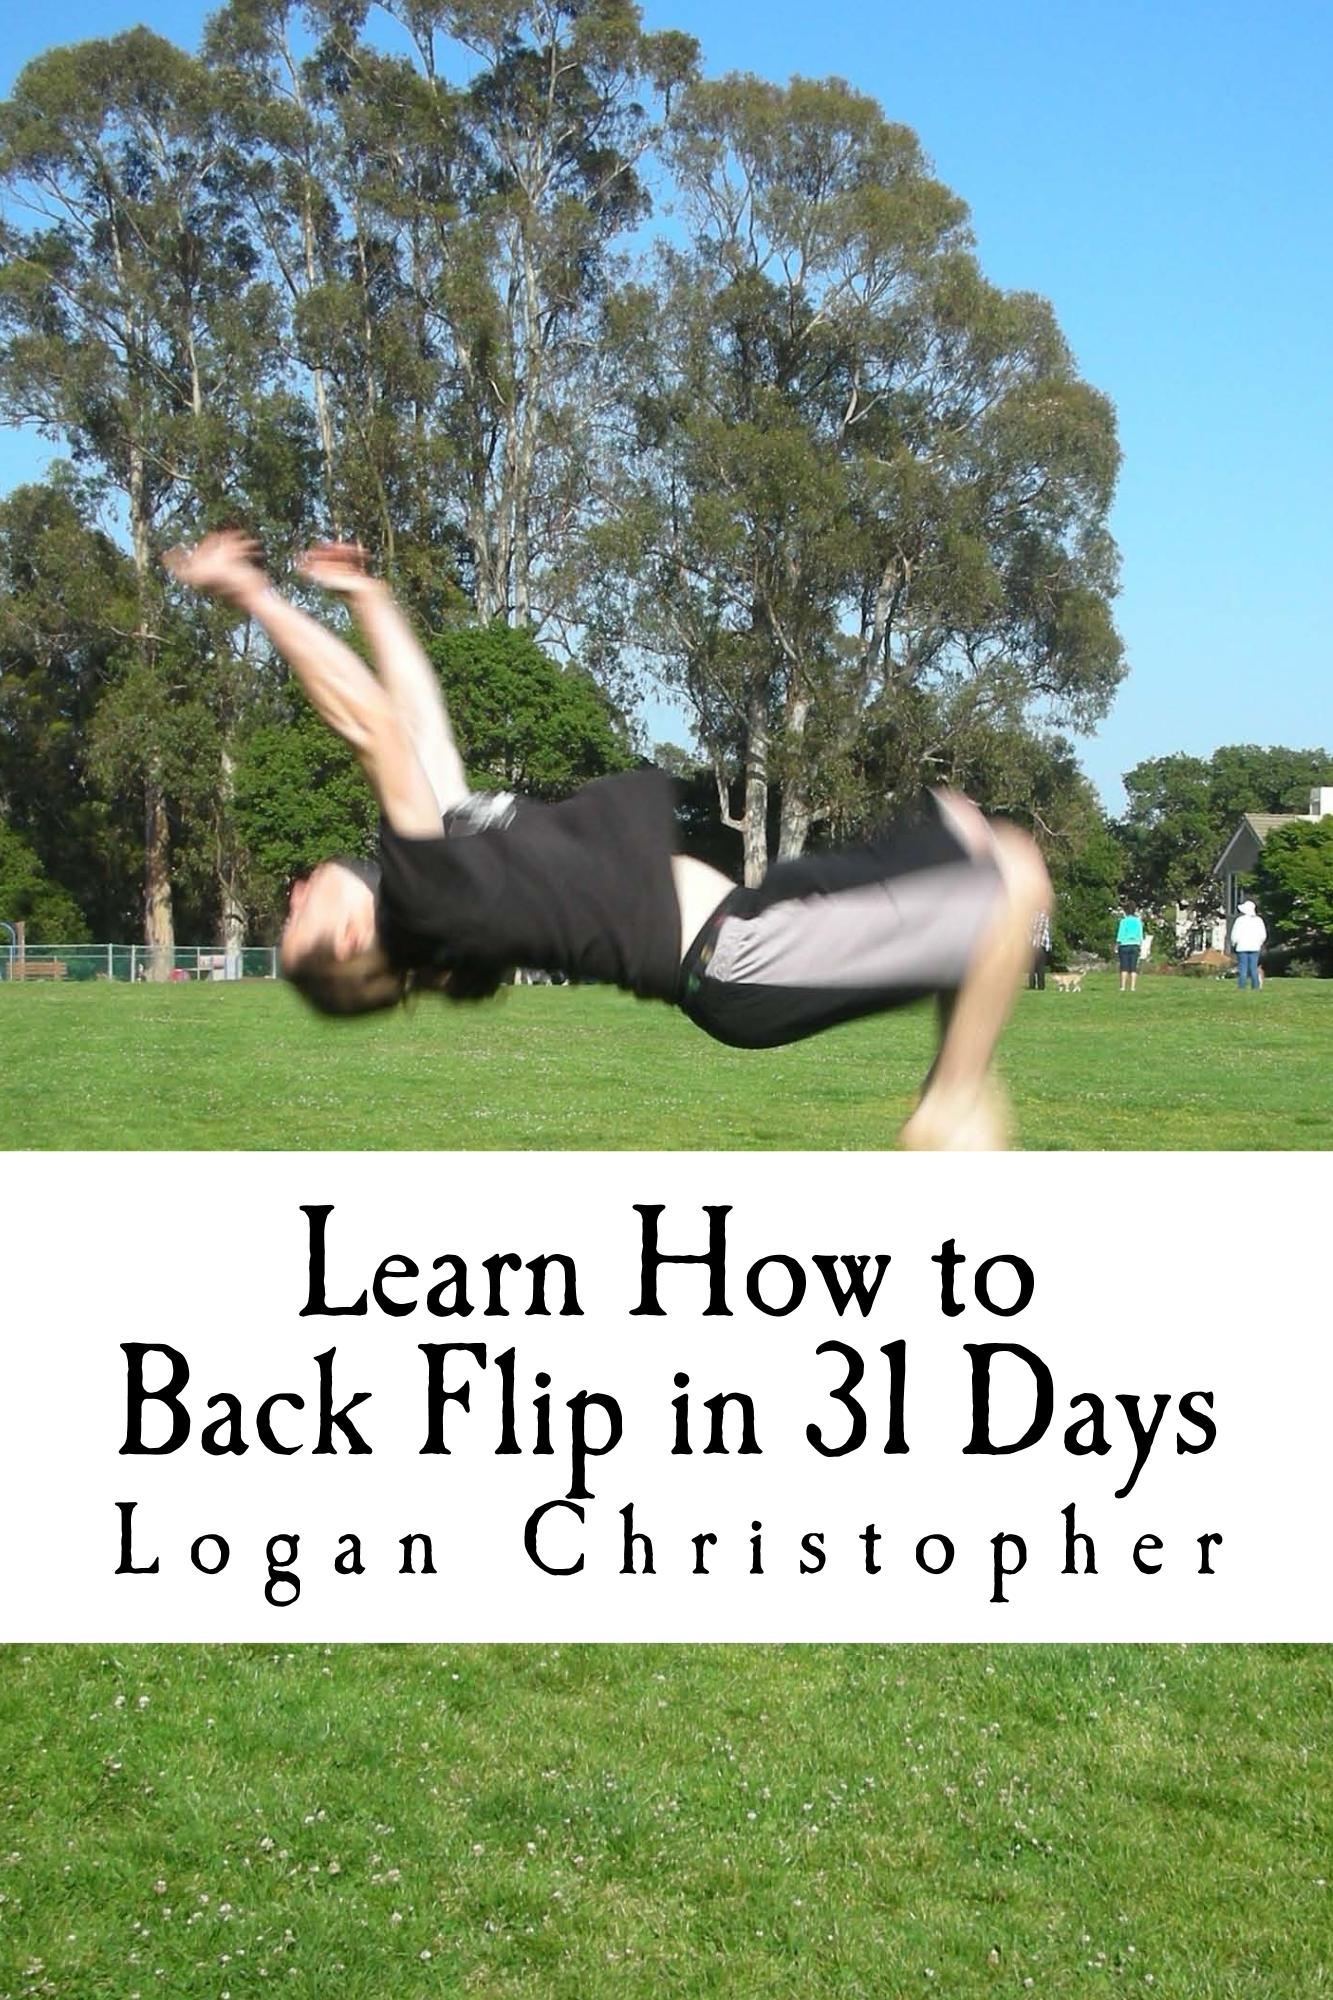
Learn How to Back Flip in 31 Days
Learn How to Back Flip in 31 Days on Amazon
Comments { 1 }

How To Do a Handstand and Stay Up

Most of us dreaded gym class in school. One of the hardest tasks was learning how to do a handstand and stay up. Contrary to popular belief, you don’t need to be on the US Olympic Gymnastics team to perform a steady handstand. It takes patience, practice and good technique.

This video shows getting up into a handstand from a yoga perspective. I’d approach it differently but there are some good tips here.


Trampoline Handbook
Trampoline Handbook on Amazon


If you have never attempted a handstand before, have a friend hold your legs as you kick up into a handstand. You can also practice against a wall. Whichever route you choose, make sure to follow the same guidelines below on how to do a handstand and stay up:

  • Place your hands on the floor in front of you. Make sure they are about shoulder width apart. If you get too wide, you will fall and not have a good balance.
  • Another tip is to spread your fingers out to make a wider base. It is essential that you lock your elbows once you begin the handstand. This is crucial for a good platform.
  • Begin by placing your hands on the floor in front of you with your elbows locked.
  • Place your dominant leg forward and kick up into a handstand with your weaker leg.

You may need to practice doing a few kicks to get the right balance. If you are worried about falling over, try to use a softer surface to practice your handstand on. Grass is good to start. Once you are able to get yourself up into a vertical position, look at your hands to keep yourself balanced. Avoid moving your head around and keep your legs locked together. It is a good practice to point your toes to the sky. This helps your balance and presents a nicer image. Allowing your legs to dangle over your head is not a good technique because it could throw you off balance and it doesn’t look good. Use your palms for balance. If you start to fall forward, push with your fingers. If you find yourself falling backwards, push on your palm heels for balance. Staying up in the correct shape requires a lot of strength, which can be achieved through practice.

Finally, watch the video and take notes on things that you should not do if you want to stay up when doing a handstand. Like most things, it will take time and practice to know how to do a handstand and stay up.

Comments { 0 }

How to do a Headstand Yoga

Sirsasana is another name for the Yoga Headstand, which is a challenging posture within the inversion category. Other inversions include postures such as the handstand, the forearm balance and the shoulder stand. There’s a wide array of benefits to be had from learning how to do a headstand in yoga, but one should never attempt a headstand without taking the time to properly learn the correct alignment and setup for this particular yoga pose.

Preparation and Alignment

To get prepped and aligned for the headstand, get into your hands and knees.

  • Lower onto your elbows, making sure your elbows are under your shoulders and your knees are under your hips. Bring your hands together, and interlace your fingers, making sure to tuck under your outer most pinky.
  • Lower the crown of your head down and place it on the floor, cup your head with your interlaced fingers.
  • As if you were coming into the downward facing dog position, bring your hips up over your shoulders by walking up towards your head.

The Full Headstand

Now that you’re prepped and aligned, you are most on your way to learning how to do a headstand yoga. All that is left is to go into the full headstand.

  • Bring your knees and bring them in towards your chest while lifting both of your feet into the air.
  • Allow yourself to stabilize, and then straighten your legs. Do your best to bring both of your legs up at the same time.
  • Push up into the balls of your feet and turn your thighs inwards just slightly.
  • Push down deep into your forearms.

You should try to hold the pose for at least 10 breaths count. Congratulations, you just learned how to do a headstand yoga! To get yourself out of this pose safely, just slowly lower each leg one at a time on to the floor.

Benefits and Risks

There are both physical and mental rewards to the yoga headstand. You’ll find that this pose will increase strength in your arms and legs, as well as positive effects on your pituitary glands and lungs. Some claims state that the headstand pose can alleviate stress and depression, by changing your outward perspective of things. It is a fact that the act of acting against the gravity helps with the cleansing of our intestines. However, if you should suffer from high or low blood pressure, a heart condition, or back/neck injuries, you should not attempt this pose. People without sufficient upper body strength can also compress their spine and damage their body in doing this pose. Make sure that you are totally prepared and capable before attempting the yoga headstand.

Ultimate Guide to Handstand Pushups
Ultimate Guide to Handstand Pushups on Amazon
Comments { 0 }

Handstand Drills for Beginners

Skipping the basics is one of the biggest and most fundamental flaws when training to do a handstand, whether it is solo or with a trainer. Handstand drills for beginners are a very necessary part of training to be able to do a perfect handstand. Many gymnastic coaches seem to skip the fundamental basics of training drills. They seem to invoke the theory that, in order for their gymnast to be able to do a full handstand, they have to make them try out right for one, over and over until it’s right. Sadly, these coaches are doing their pupils a great disservice. The value of learning the basics, step by step, is something that is far too often underestimated.

Ultimate Guide to Handstand Pushups
Ultimate Guide to Handstand Pushups on Amazon

Handstand drills for beginners help break down the handstand into the basic steps involved, making it easier to get the whole thing executed in full later. This is starting from the lunge into the handstand, building up into posture and muscle tension during the handstand and ending out with a flawless return to standing upright with triumph. By practicing each step individually using drills that break down the different parts of a handstand into simpler movements, you help strengthen the muscles a gymnast needs in fully accomplishing a handstand.

With the right practice and patience, you can go from basic lunge drills into a full and glorious handstand, with your arms fully extended, straight strong shoulders, a solid core, and extended legs with proper body and muscle tension throughout. Trying for the full handstand right off the bat can not only be more difficult, but it can lead to frustration or even injury without ever properly achieving a full handstand. Before you jump right into it, get yourself warmed up with some basic handstand drills for beginners. It’s smarter, safer and leads to more flawless handstands.

Comments { 0 }

Handstand Kickover

Doing a handstand kickover is fun and at the same time a smart choice of exercise.  However, it is not that easy to do as it may cause injuries especially if you do not know the basic steps. In this sense, it is necessary to know how to obtain a graceful and steady handstand.

Walking and Jumping On Your HandsWalking and Jumping On Your Hands on Amazon

Basic Steps of Handstand Kickover:

  • Find a wide and soft area. If you want to practice the move, the first thing to consider is finding a wide and safe area that ensures softer landing. This activity will make you fall most of the time so it is necessary to protect yourself from injury.
  • Stretch. Before starting, it is necessary to do some stretching such as rolling your neck, ankles and wrists. This will reduce the risk of getting injured and at the same time, these stretching exercises will make you more flexible.
  • Stand straight up lifting your hands over your head. Keeping your arms straight is crucial, then step forward, throw hands down and do the kick.
  • Kick one leg and take a forward step. When doing it, you should ensure that the skeletal system can handle or endure the load of your body. Thus, you should keep your fingertips align with your back foot.

Aside from the basic steps mentioned, you should also ensure proper balance of the body. Otherwise, it may lead to injury once you make a mistake in throwing your hands and kicking your legs. Likewise, while approaching the ground, always keep your arms straight. Keeping your arms and elbows bended can injure you.

Performing this handstand is not a piece of cake so you need someone to assist you if it’s your first time. If you are a beginner on doing handstands, this is not recommended for you. You should be able to do a handstand for two seconds, and a standing back bend before you can practice doing handstand kickover moves.

If you want to learn a lot more on bridging movements like this be sure to check out the Advanced Bridging Course.

Comments { 0 }