Tag Archives | Knees

How to Learn Parkour

Merry Christmas!

Regardless of whether you celebrate this holiday or any other this time of year, I’m in the spirit of giving.

I mentioned this before and now its ready. Grab my new interview with Mark Toorock of American Parkour

In just over an hour we covered tons of information from the beginnings of parkour on to how to learn parkour. Here’s a few of the things you’ll discover when you listen:

  • The difference between doing Parkour and training Parkour.
  • What your fitness level should be before you get started in Parkour. The answer may surprise you…
  • Tips on keeping the knees, ankles and other joints healthy so you can train a long time while avoiding crippling injuries.
  • What a typical Parkour training session should look like.
  • How to find other Parkour practitioners (aka Traceurs) that you can train with.
  • Tips on finding places to train (including the legal aspects of doing so).
  • The fundamentals you MUST focus on and why neglecting to do so will mean slower progress.
  • And much more…

We do talk about the Parkour Tutorial DVD, available here, but besides that its all great content on how to get started learning and training in parkour.

Good Luck and Good Free Running,
Logan Christopher

Tumbling Illustrated
Tumbling Illustrated on Amazon
Comments { 0 }

Straight Arm Pressing Tips

Having safely returned from my trip its time to get back into regular emails to help you go further in your hand balancing and acrobatics. I received a number of excellent questions while I was gone so I figured I’d start there.

“How should your hands look when there on the ground for a handstand?”
Genoman

While it can change up depending on which hand balancing move you’re doing, for the normal handstand you want your hands flat on the ground with the fingers spread as far apart as possible. The middle or index finger should be pointing directly forward.

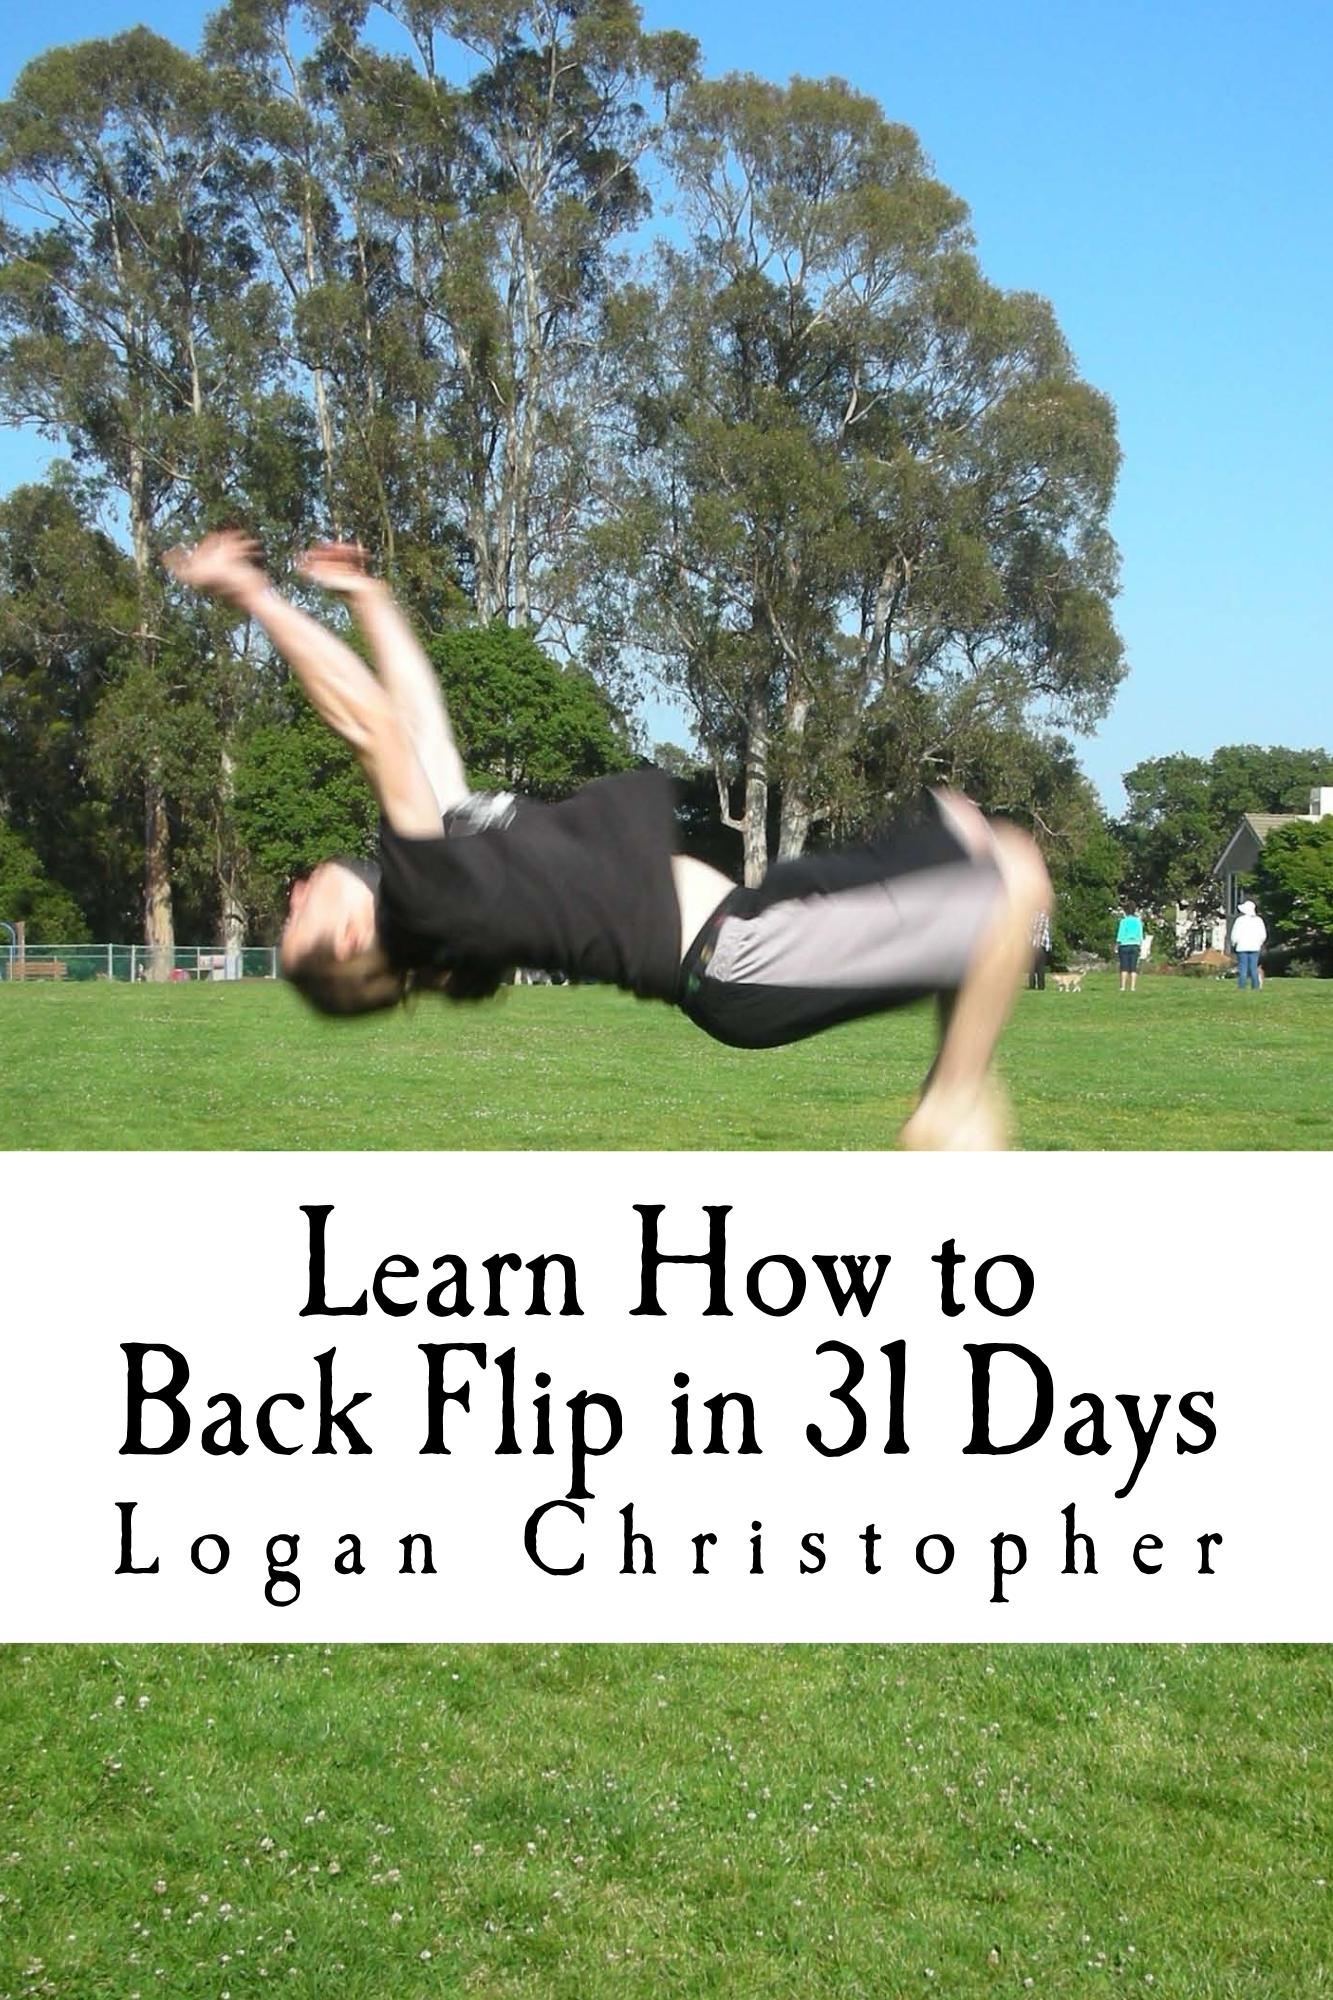
Learn How to Back Flip in 31 Days
Learn How to Back Flip in 31 Days on Amazon

“I’ve been doing hand balancing for a while now. I’ve developed quite a strong upper body. I do hand-stand push-ups with ease.  I kick up successfully more times than not and can hold the balance for a considerable amount of time.  That is why I’m so perplexed as to why I cannot even come close to doing any of the stiff armed lever up exercises.  In doing exercise #2 in “The True Art and Science of Hand Balancing”, The best I can do is on push-up bars, hold myself with my knees still under me, but when I try and lever up, I barely budged, literally about an inch or so.  If I were to do this with bent arms, I do it with ease, same with all lever ups like with split or even straight legs.  What makes stiff arm so difficult?  What are the muscles being stressed most in a stiff arm lever up and how can one train them to get to do it?  I feel I’m not even close to getting anywhere with them.  Again, I’m extremely strong in the upper body.  Is it possible I’m doing something wrong, or possibly I have neglected to train a certain muscle or muscle group?”

Thanks,
Francis Ford

Straight arm presses are a different beast then bent arm presses. While you are having problems of this sort there are many people that can do straight arm moves but would fall flat in a bent arm press because they lack the strength.

Because of different body leverages the straight arm press may take you some time to get to, where others can do it almost immediately.

The straight arm press, in its various forms, requires strength in different areas as well as flexibility. You have to be able to get your center of mass over your hands. This requires your shoulders to go far out in front.

One method you may want to try is to do a bent arm press except try to bend your arms a little less, and gradually work up to a straight arm press. From the handstand you can do negatives lowering yourself down on straight arms.

Also having someone else to spot you can be a big help. They stand in front of you, your shoulders coming to meet their legs for support, and they assist you by raising your hips as much as you need to do the move.

And lastly I recommend you re-read Chapter 8 on pressing in the book for even more info. Most important is to just keep at it. If you find it difficult, it’ll be that much more satisfying when you finally make it.

Good Luck and Good Hand Balancing,
Logan Christopher

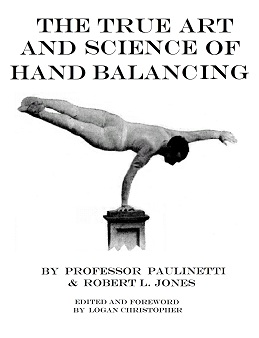
P.S. If you haven’t got your copy of The True Art and Science of Hand Balancing you can grab it here.

Comments { 0 }

Planche Training

The quality of the questions coming in has, for the most part improved.

Here’s a great one on planche training from Josh,

“hey ive just learnt about planche a few weeks back and have looked up many ways of progression towards a full planche, i know it is not an over night thing but what would you recommend to do for progression? i can just hold a tuck planche for about 10 seconds but im not very far off the ground”

There are a few different ways you can go about this.

I’ll give you one of the best ways to do it. I was just re-reading The True Art and Science of Hand Balancing and Bob Jones talks a good amount about it on the chapter about the Planche.

The planche is such a difficult feat to perform because of the enormous leverage against the shoulders. On top of this you have to keep your body completely straight with no support except by the arms.

How do you work up to this? By making it easier. And that means lessening the leverage.

Here’s two ways you can do that. Spread the legs as wide as you can. And bending the knees. Combine these to lower the leverage even more.

Even like this though, most people will not be able to hold a planche position. It still requires great shoulder and upper body strength.

So work it as far as you can go. Lower from a handstand as far into the planche as you can, with the bent and spread legs.

Work this over time and you’ll build the strength you need.

If you want more on the planche get the book here. Plus you’ll learn what a true planche looks like and why most people are doing it wrong.

Good Luck and Good Hand Balancing,
Logan Christopher

Ultimate Guide to Handstand Pushups
Ultimate Guide to Handstand Pushups on Amazon
Comments { 2 }

Handstand Pushups and Handstand Hand Positions

Got two more handstand questions I’ll dig into today. I have to admit the quality of the questions has stepped up recently at least for the most part. Submit yours at https://lostartofhandbalancing.com/question.html.Here we go. The first one is from Ari.

“OK, Logan, I can balance on my hands, and I have the strength to do handstand pushups, but maintaining balance in an HSPU seems almost impossible. As I lower from the handstand my weight always starts to move to the ventral (stomach) side and unless I bend my legs at the knees so my calves counterbalance the weight, I lose my handstand. How do you maintain a straight bodywhile doing a handstand pushup?”

The first step is to make sure you have the strength to perform the move. When most people do handstand pushups against the wall it’s in an alignment that makes the pushup easier than the form you have to take for a free standing handstand pushup. This is a big topic in and of itself that I’ll have to dig into another time.

The important thing is to have an excess of strength. It’s not good to be burned out after two attempts, since you need to ‘practice’ the move. Onto the balancing.

It is going to be slightly different depending on how straight or arched you are. The thing is that your body will be at an angle and not perfectly vertical from the ground. When your head touches the ground it should be in a triangle formation with the hands. Like the headstand except you don’t rest on the head.

Because of this the upper body and lower body are on different sides of your center of gravity. As if you were lowering down toward the planche.

The most important thing you have to do in order to keep the balance and not fall toward the feet is keeping yourself toward overbalancing. The pressure must be toward your fingers at all times. If you go toward your palms you’ll lose it.

Of course the body has to be kept real tight at the same time. But keep the weight toward your fingers and you’ll be able to stay balanced while doing the pushups.

And here’s one from Ron.

“I’ve been doing handstand training for the past 4 months. For the purpose of experimentation, what are the effects of different hand positioning? In other words, if you spread your hands wider apart, does that provide any benefits, as opposed to keeping the hands at shoulder width?”

Here’s the words of Professor Orlick, from the beginning of chapter 11 in Hand Balancing Made Easy.

There is a two-fold purpose for learning these (that is handstands with different hand and arm positions). The first is for the stunts themselves, they look good, impress your audiences and give you personal satisfaction.

The second is for excellent balance they develop. When you vary the position of the hands you are forced to balance less and less with the fingers and hands themselves and more and more with the body as a unified whole. This may not be clear to you right here but after you learn a few of the stunts which are described you will understand exactly what is meant.

Tumbling Illustrated
Tumbling Illustrated on Amazon

He then goes on to list 14 handstand exercises with different hand and arm position and even more in the next chapter. For details on the exact ones check out Handbalancing Made Easy.

But that explains it well enough. Changing your arm position will work your balance to a higher degree. These variations are good to throw into the mix from time to time.

Good Luck and Good Hand Balancing,
Logan Christopher

P.S. Just to let you know there’s going to be changes to a few of the products next week.

Comments { 0 }

Yoga's Scorpion Pose

When I was practicing a bit of my hand balancing last week someone who practiced yoga commented on it and we started a conversation.

One balance that she told me about is the Scorpion Pose also known as Vrschikasana. (No, I don’t know how you pronounce that.)

For any hand balancer is should not be much of a problem to get started. But if you need it you can always use a wall.

Simply kickup into a forearm stand. From here all you do is bend your knees and bring your feet to your head.

In this pose you want to keep your feet and knees together, though your body will naturally want to separate them.

How far your feet can go depends on the flexibility of your back. For the contortionist is will be easy to touch the feet on the head or even bring them under the chin.

If you can’t get there, not to worry, just do what you can and build from there.

I just did a couple while writing this. Let me tell you this is one move that will instantly lift your spirits and make you feel alive.

How to do the One Hand Handstand by Professor Orlick
ow to do the One Hand Handstand on Amazon

Go ahead and give it a try.

Good Luck and Good Hand Balancing,
Logan Christopher

P.S. With all my travels I fell out of my normal writing schedule but will get back on it now. In the mean time if you have any questions don’t hesitate to ask – https://lostartofhandbalancing.com/question.html

Comments { 0 }

What a broom can teach you about hand balancing

Everyone has done this at one time or another. A broom is a common item but any long straight object will do just fine.

Put one end on your open palm with the other end straight up in the air and keep it there by balancing.

This is not very difficult and let me tell you why. The broom is straight and solid. Your efforts at balancing it from the bottom translate straight up to the top so it is quite easy to keep it in the air.

Of course, this is related to hand balancing. However, there are some big differences.

Your body is not just one straight long object. You have mobile joints at your elbows, shoulders, hips, knees and ankles. And then there’s your spine which has many moving pieces.

This is not an anatomy lesson. My point is that your efforts of balancing on your hands may not directly translate to keeping your feet in the air.

Your target must be keeping your body from wrists to toes unmoving so that you can balance.

Keeping your body tight is the key to holding a quality handstand. Any leak means getting out of proper position and a much tougher time getting back in.

So stay tight, but don’t forget to breathe.

In the beginning all this is not as easy as it appears, especially when you are in the unfamiliar upside down position. But keep practicing.

When you can keep your body rigid then handstands are a piece of cake.

Sincerely,
Logan Christopher

P.S. For in depth instuctions on how to get into position and hold it check out Professor Paulinetti and Bob Jones’ Book

Hand Balancing Made EasyHandBalancingMadeEasy_on_Amazon

Comments { 0 }