Tag Archives | lead-up stunts

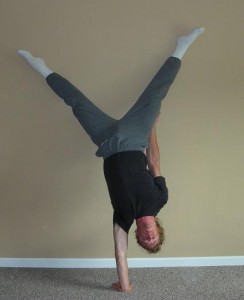
Struggling with the Handstand?

The vast majority of people that come to this site are beginners looking to get into a handstand for the first time.

Yes, there are those that can effortlessly hold a one arm handstand but they are few and far between. And everyone else is jealous of them of course. 😉

I was working with a client named Tom yesterday who has a goal of doing a freestanding handstand.

I told him that when I started doing handstands I made every single mistake you could. Only through my persistence was I finally successful.

But for Tom and you, it doesn’t have to be that way.

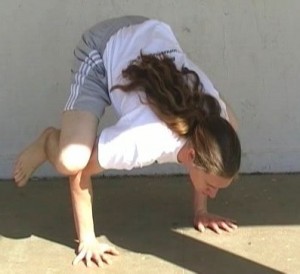
I told him all about the lead-up stunts and how these allow you to build the skills necessary to do a handstand but do it in an easier method then the handstand itself.

Can’t hold a stable headstand? You shouldn’t be working on the handstand. (I made that mistake.)

Can’t kickup very well? You should practice that instead of just the handstand. (You guessed it, another mistake of mine.)

Barely can hold a handstand against the wall for ten seconds? You should improve your position and endurance before going freestanding. (Okay, here’s one I wasn’t so bad in.)

As you may know I just completely re-did my Secrets of the Handstand Quick Start DVD. This is 2.0. While I had upgraded it in the past this time it was redone from the ground up.

It totals 80 minutes long as there was so much information to cram on there that will get you into a handstand faster then anything else.

I’m testing something on a new site. But since you’re already a loyal subscriber you won’t need to subscribe again.

https://www.handstandmastery.com/yourvideo/

If you’ve been around awhile you may already have these gifts. If not, grab them know.

There’s a video that gives you more details on the lead-up stunts.

There’s a special report that details 10 mistakes people make when doing the handstand.

And lastly a mp3 of a special call I did with Jim Bathurst from Beast Skills that goes over all manner of hand balancing skills.

Then and only then if you want you can take me up on my ridiculously generous offer on the new Secrets of the Handstand 2.0

I’ll leave you to see why its’ so great by going to the next page.

https://www.handstandmastery.com/yourvideo/

Good Luck and Good Hand Balancing,
Logan Christopher

P.S. If you’re still struggling with the freestanding handstand run over to this page right now and see what I’ve got for you.

https://www.handstandmastery.com/yourvideo/

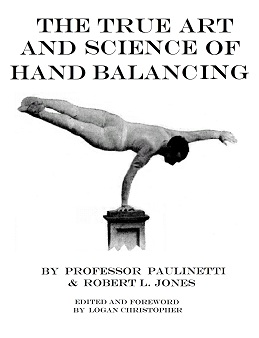
The True Art and Science of Hand Balancing
The True Art and Science of Hand Balancing on Amazon

P.S.S. Even if you can easily do a handstand you may still want to check this out…

Comments { 2 }

Hand on Hand Handstand

Mark apparently got this move from me (and I got it from Professor Orlick in the Hand Balancing Mastery Course), but the way in which he does it was new to me.

Once you get into a handstand move your hands in closer to a touching position, and then from there you move them even closer so a hand is on top of the other hand.

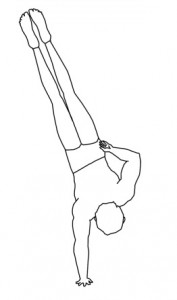
This in many ways mimics a one hand handstand as you’re lessening your base of support. A great lead-up stunt.

The difference is I had always kicked up into position with the hands closer or on top of each other, rather than moving them in. I have to say I like this one a bit more after having just played around with it, although both ways are valid.

Tumbling Illustrated
Tumbling Illustrated on Amazon

Good Luck and Good Hand Balancing,
Logan Christopher

Comments { 0 }

First Day Back

It’s the first time I’ve attended a gymnastics class in around two years, maybe longer.

I expect that I’ll be able to get back into it quickly, at least for the most part. I don’t plan to rush things.

On this first day back, we start up on the trampoline. After a few regular bounces and getting use to it I launch into a front flip. Over spun it. Land on my knees. But it was on a trampoline so no harm done. I repeat the process, mostly over spinning it. Eventually I get it down. If you know you’re over spinning every time simply spin less.

Onto some floor exercises. A few basic warmups. I get dizzy from rolling and cartwheels. Then round offs. Those come back as easily as if I’d been doing them regularly. Not perfect but in decent form.

The instructor calls for a front handspring. I think back to what leg I normally go off of. Once I have that no more thoughts. I just run forward plant my hands and land easily on my feet. Once again not perfect but decent. A few more and I’m getting even springier.

Tumbling Illustrated
Tumbling Illustrated on Amazon

We move onto the tumble-trak. A front handspring into a front flip. Here comes a problem. My strong suit in the past was never stringing moves together. I try this again and again but don’t quite get it. I can hit the front handspring but I often hesitate when going for the flip resulting in a landing not on my feet.

Trampoline

Trampolines are great to build your acrobatic skills.

Back to the trampoline. Back flips! I hadn’t done one of these in any shape or form in a long, long time, but I suppose that was true of every move on this night. The fear of hurting myself, even on a trampoline, by going backwards was back and prevalent.

I start with some basic lead-up drills like rolling over then bouncing over. I feel like my body has lost all control. Like all coordination leaves when I’m upside down. I keep working and I gain the coordination back.

Alright those drills are easy. With a spot on my first backflip I make it easily. From there its easy. Back flips, front flips. I work on them all going back and forth between them. Enjoying the freedom. Enjoying the rush of going upside down. Enjoying being back in gymnastics.

I’ve made the mistake of neglecting much use of the trampoline in the past but will not be making the same mistake this time around. You can read more about that and all kinds of trampoline moves here.

We mess around with some handstand stuff, specifically on press handstands and call it a night.

It was fun. I am definitely re-hooked. I also paid the price.

I knew it would happen. Anytime you engage in a new vigorous physical activity, or one you haven’t done in some time, you will end up sore the next few days. You may not think bouncing on a trampoline or springy floor use much muscle but you’d be wrong. My legs, every inch of them, were sore to the point that walking was a bit awkward.

Despite that I’ll be back soon. And I will also be practicing on my own each day.

Good Luck and Good Gymnastics,
Logan Christopher

P.S. This is day two of the 30 Day Challenge. So far so good. How about you?

Comments { 2 }

One Arm Handstand Series Part 2

This is the second in the series on progress towards the one arm handstand series.

The True Art and Science of Hand Balancing
The True Art and Science of Hand Balancing on Amazon

In the Secrets of the Handstand Quick Start Video I show four lead-up stunts that work the skills necessary to do a handstand.

The one arm handstand has lead-up stunts too.

One Arm Handstand Against WallAs was discussed previously in part 1, the most important lead-up stunt is to build a stable and consistent handstand that you can hold with ease. Only once you are at this point should you begin work towards that one arm version.

Just like for the regular handstand, a handstand against the wall can be used. In using it to lead-up to the one arm handstand, you’ll obviously do it on one arm.

This can help to build your strength. Plus you’ll be able to work on your position, to make sure you get exactly as you want. This is excellent as I find in my practice that as I fatigue it becomes harder to stay in the locked out position. Much easier to work on building this up without focusing on balancing, by using the wall. With a stronger position you will be able to practice longer and more.

When you do that one arm handstand against the wall you should do it in the same form as you’ll be working on the balance. If your legs are spread, do it legs spread. If you’re working on the one hander with legs together, do that against the wall. Try to minimize your lean as much as possible as you strive for the best position.

Being able to hold the one arm handstand against the wall for 45 seconds to a minute is a good goal to shoot for. This is one important step in the journey towards success.

Good Luck and Good Hand Balancing,
Logan Christopher

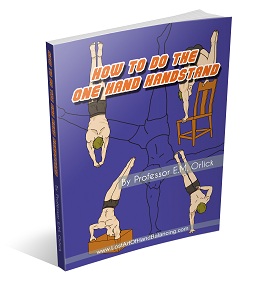
P.S. Want more help for the one arm handstand? Be sure to check out How to do the One Hand Handstand by Professor Orlick.

Comments { 2 }

Secrets of the Handstand Review

Since releasing the Secrets of the Handstand Quick Start video for free on the site last week there has been more traffic here, more people signing up and lots of emails of thanks. Thanks everyone for spreading it around.

Got this report from Dan who purchased the Secrets of the Handstand Quick Start DVD awhile back before I released it. He has been making progress. As it’s quite long I’ll make comments and answer questions as they come up.

Frogstand

The Frogstand - One of the lead-up stunts to the handstand.

hi – i have gotten to a minute or more on the lead-up stunts but have been only practicing the kick-up and toe-touch handstand for 5 minutes twice a week. i am making progress with it, but because i’m practicing so little, i have only done 5-10 seconds as my max handstand with toes off the wall and have only kicked up into handstand successfully once.

With easier moves like the lead-up stunts and handstand you can get by with a minimal amount of practice. Even five minutes twice a week and you’ll eventually get it. Of course, with more time spent practicing you’ll make progress faster. Also for the harder moves like the one handed handstand don’t think you can get by with this little practice.

i promise i will keep working on it and i am not discouraged at all, just lazy and a little busy. but i know i can do it. i also do two sets of ten handstand pushups (going half way down or so) to build up some strength. i’m definitely stronger than when i started.

Though I didn’t include handstand pushups in that DVD they’re obviously a great exercise for building strength. A great complement to the work you’re doing

How to do the One Hand Handstand by Professor Orlick
ow to do the One Hand Handstand on Amazon

sometimes i practice on a hard floor and sometimes on the carpet or grass. hard floor seems easier….do you have any comments about pros and cons of using a soft surface?

A hard surface is superior in that you can transfer the force in your wrists and hands to balance best. A soft surface has give making this harder. If you want a real challenge attempt to hand balance in the sand. On the flip side a complete newbie may want to try handstand’s in the grass first, in case they fall.

also my wrists tend to hurt after less than a minute of being in a handstand….they get better after a few minutes, but i do tend to quit because i am afraid of injuring my wrists. i do stretch them for about 10 seconds in two directions before i start practicing. do you have a suggestion of how much discomfort you should practice through and when you should quit for a while? (i’m 36 yrs old and healthy.)

There is a difference in pain of stretching and pain from an injury. Hopefully you won’t come close to the second. Stretching first is important. As you warm them up and get use to the position they should become more flexible. At this point you can keep going. If they start to feel sore, like you’ve done too much, then you should call it a day.

i like the dvd. i like the ideas of lead-ups and toe-touch and kick-up suggestions – i wouldn’t have thought to do any of those on my own, i don’t think. i don’t have any suggestions for improvement in the video other than to say something about keeping your mind quiet when you are up there. as a novice, my thoughts tend to race when i get upside down. “am i doing it right…my arms are getting tired, i’m gonna fall” etc. of course these thoughts hurt your performance. so concentrating on breathing or the body position or something is helpful to prevent your mind from working against you. thanks and hope to hear from you.

Dan

Thanks for the report Dan. I agree with you about the mind. Instead of thinking of all the component parts, which can be tough in the beginning, merely focus on what you’re trying to achieve, staying in the handstand.

Now I’d love to hear your thoughts on the video. Are you seeing success with the lead-up stunts? Hit a road block anywhere? Comment below.

And of course, if you haven’t seen this video yet all you have to do is sign up on the side.

Good Luck and Good Hand Balancing,
Logan Christopher

Comments { 6 }

One Arm Handstand Series Part 1

My current goal in hand balancing is to do the one arm handstand. Its been a goal for a long time.

On that note I’m going to start a new series of articles that detail my progress toward it. This series will be off and on as I try new exercises, have breakthrough’s and make progress. There will be no known end point and no regular schedule to these, but they‘ll come when they come.

Before I get to that though we need to start with the preliminaries.

Where should you be at in your hand balancing practice before you begin in the one arm handstand?

Bob Jones One Arm Handstand

Bob Jones in a One Arm Handstand

Bob Jones from The True Art and Science of Hand Balancing says:

“He who cannot walk can hardly run, and it is equally true that one who cannot do a correct two hands balance can hardly hope to master the balance on one hand. And by this term I do not mean mere ability to stand on the two hands; I mean the ability to stand in good position and to remain there by balancing correctly. So, before making a pass as the one-hander, check back on your two hands position.

“The position on two hands must be with arms straight and perpendicular when viewed from the side. Use all your back bend-­whether much or little does not make too much difference, but use all of it until you learn the balance; then you can stiffen up if desired. Go over Chapter 7 and check your position to make certain you balance correctly in the proper position; weight on the ball of the hand, balance by wrist action (imagine that you are balancing on one hand on a silver dollar placed underneath the first two knuckles), and not by wiggling or shimmying the legs from knees, hips, or small of back. If you feel satisfied, let us proceed.”

And from Professor Orlick in How to do the One Hand Handstand:

“YOU MUST FIRST MASTER THE TWO-HAND HANDSTAND. That’s right! You cannot possibly do a good One-Hand Handstand until you can do a perfect Two-Hand Handstand.

One Hand Handstand“This does not mean that you must be able to perform all of the hundreds of tricks in my basic course “Handbalancing Made Easy”. It simply means that you must be able to press into a perfect Two-Hand Handstand and hold it with absolute control. It means that your elbows must be straight and locked, that your shoulders must be stretched out and locked, that your back must be only slightly arched, your knees perfectly straight and your toes pointed.
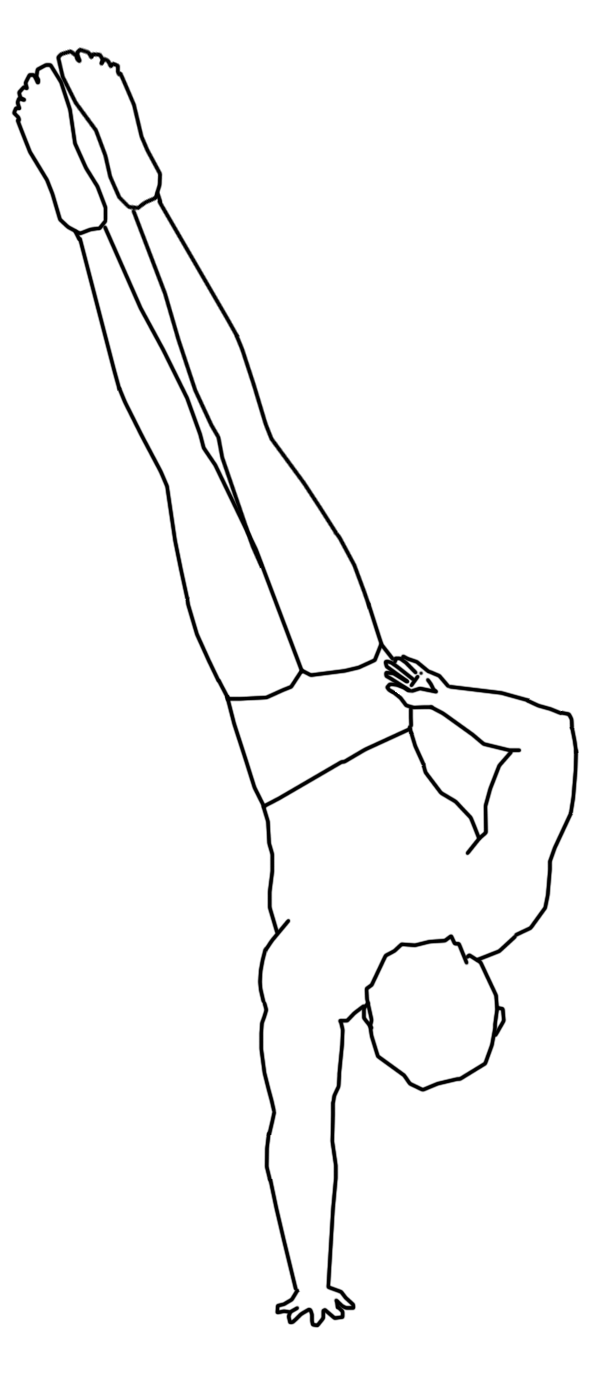
“When your shoulders are fully stretched out, you shoulder muscles (deltoids) should actually be pressing against your ears. Furthermore, there should be a straight bone-to-bone alignment at your elbow and shoulder joints so that no strength is needed to support your bodyweight. When you get into this fully locked-out position, with every part of your body stiffened out into a straight line from your hands to the very tip of your toes, then you will be able to hold the Perfect Two-Hand Handstand with practically no effort whatsoever. In fact, all that it will require to keep you up there is the slightest bit of pressure against the floor with your fingertips.

“The fully locked-out position in the two-hand handstand, is the half-way mark to the One-Hand Handstand. This is the position you must assume every time you want to go into the One-Hand Handstand. In fact, this is so close to the One-Hand Handstand that you can’t get much closer to it without actually doing it.

“YOU should practice the perfect Two-Hand Handstand until you have absolute control of it before going on to the One-Hand Handstand. You can figure that you have reached this point when you can hold a fully locked-out two-hand handstand consistently for about 45 seconds. Most good handbalancers can hold it twice this long so you should keep on practicing until at least one minute is well within your capability.”

While there is disagreement about the back-bend the rest of the details are similar. Before beginning the one arm handstand you need to be able to hold a handstand with ease in good position.

If you can’t do this, your efforts towards the one arm handstand are going to result in nothing but frustration.

This is getting me excited to work on my position more right now.

Next time we’ll look at some other important lead-up stunts before beginning in earnest with the one armer itself.

Learn How to Back Flip in 31 Days
Learn How to Back Flip in 31 Days on Amazon

Good Luck and Good Hand Balancing,
Logan Christopher

Comments { 5 }

One Arm Handstand Lead-Up Stunt

One Arm Handstand

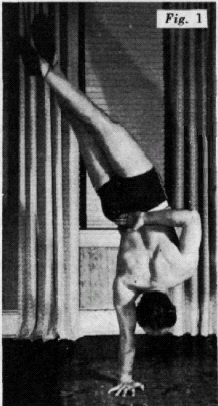
The One Arm Handstand

Hand Balancing Made EasyHandBalancingMadeEasy_on_Amazon

Today I’ll be giving you a tip towards working on a one arm handstand. I’ve been doing this hand balancing skill a lot lately.

Professor Orlick lists it as one of the lead-up stunts to the one arm handstand. And this one utilizes both arms. What is it? It’s the handstand done on the fists.

Now how does this help with the one arm handstand? As explained in How to do the One Hand Handstand:

Fist Handstand

Handstand on Fists

“Now, lean forward and very carefully kick your feet up into the handstand position. Do this easily and gently because your base will be even smaller than before and you won’t have the use of your fingertips to help hold you up. If you kick too hard you are liable to topple right over. At first, the weight of your body resting on your knuckles will probably hurt but just grin and bear it for soon you will get used to it. Once again be sure to stretch up as high as you can and lock-out at the elbows and shoulders and point your toes up toward the ceiling. The position is shown quite clearly to the right in No. 22. Like the others, this too is a fine lead-up stunt so keep it up until you master it.”

The reason this can help move you toward the one arm handstand is that you’ll get use to balancing on a smaller base of support. You just can’t apply the hand pressure you can in a normal handstand when you’re on your fists. A small amount of wrist pressure can be used but you must learn to keep your body stable and balance from the shoulders.

Mixed with other lead-up stunts and the proper progression this will help you eventually reach the one arm handstand. For much more check out the Hand Balancing Mastery Course.

Give it a try and let me know how it goes.

Good Luck and Good Hand Balancing,
Logan Christopher

Comments { 1 }