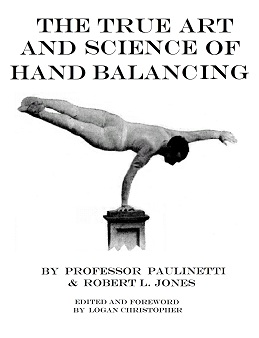
Here is a basic handstand tutorial. This will cover first practicing against a wall. If you are trying to go out into the open check out this article on how to do a hand stand.
Holding a handstand is not an easy skill. It requires much practice especially if you want to do it out in the open. The tips in the article will help you get started. Before we begin just know that practice is the biggest determinant of whether you’ll be successful or not with the handstand. The more you can practice the faster you’ll get results.
What you learn here will go a long way to helping you out. Also, these tips will ensure you get started with good habits which will set you up to learn even more advanced stunts later on. If you attempt the handstand without any instruction you may setup yourself for failure. Sure, you may figure out how to do the handstand but you may build bad habits which will make other hand balancing skills harder to do in the future.
The easiest way to learn the handstand is to first practice it against a wall. You’ll be able to learn proper body position first.
The first step is to kick-up into the handstand. In order to become successful you’ll need to build a good kick-up. So practice this skill by itself as much a you need to.
Get in a sprinter’s stance. Place both hands on the floor about shoulder width apart approximately 6-10 inches from the wall. One foot should be close to your body while the other is farther back. With the back leg you kick up and then bring the other leg to meet up with it against the wall. Kick enough to get yourself up into the handstand but not too much so that you slam into the wall.
Now lets focus on your form in the handstand. Spread the fingers wide apart and grip the ground. This will help especially with balancing later on.
Make sure your elbow are locked. If you bend your arms you’ll have to rely on your strength versus your body’s structure to hold you up. Also push your arms into the ground from the shoulder girdle. Think of trying to reach your shoulders to your ears. This will give you a better locked out position.
The rest of your body should remain tight as well from your back to the legs all the way to your toes. Point the toes and keep the legs together to help with this. By keeping tight you make holding the position, and balancing later on, much easier.
For most people some arch in the back is normal. There are different ways to go about it depending on the style of handstand you are going after. Just do whatever is comfortable for you as long as its not an excessive arch. But if you try to stretch your body upwards you’ll straighten a bit and get tighter.
You can keep your head neutral or tilt it back to look at the ground.

Handstand against Wall
All the points for a good and stable handstand position are here. The goal is to create this same position every time you do a handstand whether against the wall or freestanding. Practice these steps enough until they are a habit every time you go into the handstand.
After you can hold this handstand for about a minute you can get started with a freestanding handstand, although there are a few other important lead-up stunts, like the headstand and frogstand, to work on to build up your abilities.
Remember to keep practicing and you will succeed.
Good Luck and Good Hand Balancing,
Logan Christopher
P.S. For more on how to do the handstand check out the Secrets of the Handstand Quick Start DVD.


