Archive | Acrobatics RSS feed for this section

AcroYoga Beginner Tutorial – Straddle Bat

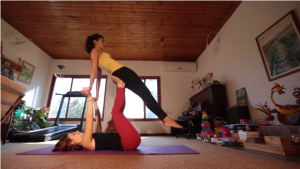
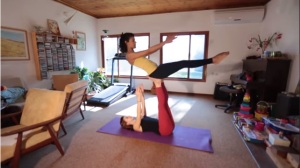
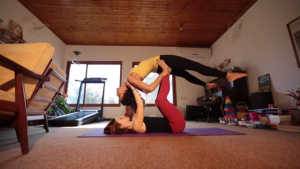
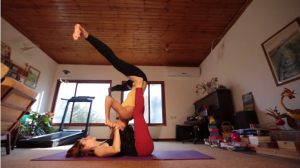
Ok guys! In today’s post, we’ll be jumping once again into the AcroYoga series with Noga. Today Noga will be working with the Straddle Bat or Back to Bat Position.

02_3_01

She starts out by placing having her flyer rest their glutes on her feet. The flyer leans back and clasps the hands of the base.

02_3_02

Next the flyer releases the hands of the base and stabilizes on the feet.

02_3_03

The flyer slowly leans back and the base creates a new post on the flyers shoulders.

02_3_04

Finally the Flyer becomes inverted into the straddle position. (Note the change in foot placement.)

02_3_05

To get the full tutorial with tips, watch the video below!

Allright guys! As you can see flexibility on the part of the flyer is important for this position. If you want to build a strong back with mobility and stability check out our Advanced Bridging Course here!

Stay Inverted!
-Coach Jon

P.S.  Stay tuned for Friday as we’ll be unveiling our new set of 1 min tips that will help you build a strong foundational base for your acrobatic skills!

How to do the One Hand Handstand by Professor Orlick
ow to do the One Hand Handstand on Amazon
Comments { 0 }

A Celebratory Ring Challenge!

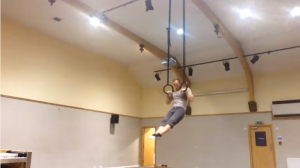
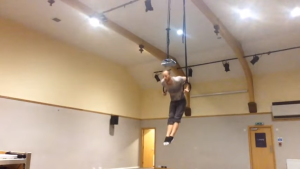
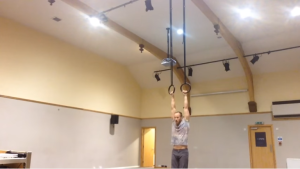
Hey Guys! In today’s post, we have a fun and quick challenge for you. The year is getting off to a great start and people are losing weight, building muscle, and most importantly development their mindful movement. So we wanted to kick things off with an easy challenge we found to test you. Micheal demonstrates a conditioning circuit of 3 exercises with 5 reps each in succession. Try these 3 and see the immense strength that you can build!

Trampoline Handbook
Trampoline Handbook on Amazon

1)Muscle – Ups

01_30_01

2)Dips

01_30_02

3)Pull-Ups

01_30_03

Watch the full video below!

If the conditioning challenge was hard, you still have a chance to get the revamped Rings One Program and if you act before tonight ends, you can receive two special bonuses including shoulder health and a conditioning workout using the gymnastic rings!

Stay Inverted!
-Coach Jon

Comments { 0 }

Blast From the Past: Back Lever Leg Raises

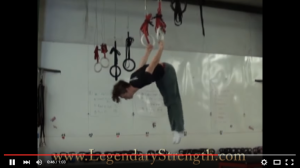
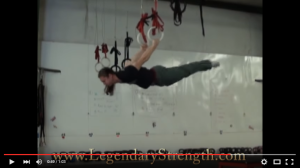
Hey guys! Check out this blast from the past on the Gymnastic Rings from Logan! In this Video, Logan performs a Back Lever into a Leg Raise.

01_29_01

Back Lever Leg Raises are a great way to mimic a Reverse Hyper Machine while using Rings.

01_29_02

Take a look at Logan’s demo below!

Don’t forget that our friends at Gold Medal Bodies have revamped their Rings One Program and if you act before tomorrow ends, you can receive two special bonuses including shoulder health and a conditioning workout using the gymnastic rings!

Stay Inverted!
-Coach Jon

Walking and Jumping On Your HandsWalking and Jumping On Your Hands on Amazon
Comments { 0 }

AcroYoga Beginner Tutorial – Front Bird

01_22_01

Learn How to Back Flip in 31 Days
Learn How to Back Flip in 31 Days on Amazon

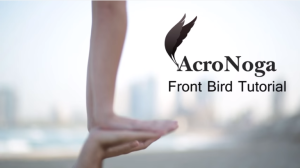
For today’s post, we’ll be looking at the Front Bird Tutorial. Noga goes over quite a few tips involve safety and balance. Be sure that you are ready we the base, the flyer, and the spotter. Watch the video below to learn your first move!

Increase your flexibility and stabilization with the Tiger Bend.

Stay Inverted!
-Coach Jon

Comments { 0 }

Happy Hump day and what would you like!?

01_20_01_Humpday

Happy Hump Day everybody! As you all know we have been working hard making Lost Art of Hand Balancing bigger and better! A part of that process is in seeing what you guys are interested in. Which tips you found the most benefits in and also what you would like to see in the future. So, with that said, we’d appreciate it if you send us a shout and let us know what YOU WANT!

Stay Inverted!
-Coach Jon

Learn How to Back Flip in 31 Days
Learn How to Back Flip in 31 Days on Amazon


Comments { 0 }

Advancing the Basics: Frogstand Variation – Using Your Head 1 Min Tip

Here is the first official tip post of 2016 for LAOHB! Today we are going over the Frogstand. Specifically, we are going to take a look at a nice regression you can use to help build the stabilizers necessary to keep you balanced, while you are in this position!


01_08_01

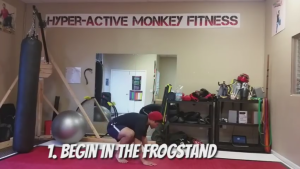
First you want to Begin in the Frogstand Position. Make sure that you are gripping the floor tightly with your fingers and that you have as much surface space that you can rest you legs on!

01_08_02

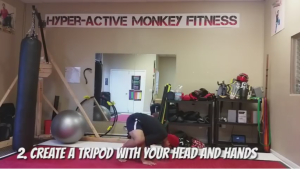
Second, carefully let the crown of your head rest on the floor as you drive your hips up. Reposition your legs if necessary to gain a stronger position.

01_08_03

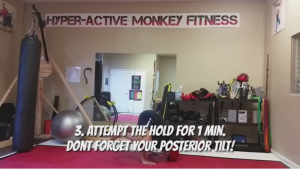
Finally attempt to hold the position for at least one minute while you keep your back aligned with a posterior tilt.

01_08_04

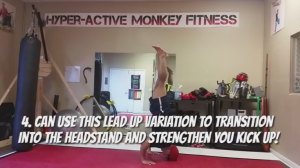
An added benefit of this modified position is that you can use it to drive up into your headstand!

01_08_05

Look below to see the entire tip!

Trampoline Handbook
Trampoline Handbook on Amazon

If you want to delve deeper into your hand balance training, go to Handstand Mastery!

Stay Inverted!
-Coach Jon

Comments { 0 }

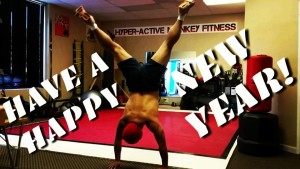
Better Late Than Never: Happy New Year!

Its the first full official week of the New Year and we wanted to make sure that we didn’t forget to wish you a Happy and Successful year in all of your endeavors!

Hand Balancing Made EasyHandBalancingMadeEasy_on_Amazon

Happy_New_Year_1_4_2016

If you need any helpful tips or even a pathway to keep you productive on your hand balancing journey pick up the Handstand Mastery Course!

Comments { 2 }

Returning to Basics: The Headstand 1 Min Tip!

For today’s 1 minute tip, I’m going to be talking about the headstand. Its a great beginner lead-up stunt that will help with your stabalization really break that fear of being inverted without the wall or partner support!

The True Art and Science of Hand Balancing
The True Art and Science of Hand Balancing on Amazon

12_30_01

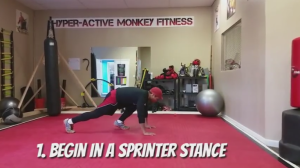
The first thing to do is begin in a sprinter stance similar to how you would get into the Kick-Up Wall Handstand.

12_30_02

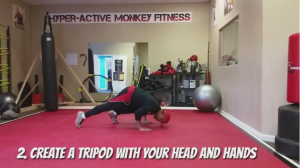
Once you’ve situated your position, create a tripod with your hands and your head. Make sure to lock in your shoulders and activate your lats for increased stability.

12_30_03

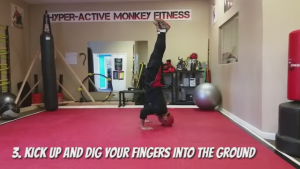
Finally Kick up into the handstand! Make any distance adjustments with your hands and head as soon as you get into the position. Finally be sure to dig your fingers into the ground to root yourself onto the floor.

12_30_04

Catch the entire tip here!

To get a stronger understanding and solid system for the Handstand, pick up the video course!

Comments { 0 }

Developing the QDR Part 2! QDR Lead Up Stunts

Here is a great video by Mike Pinto that is full of tips on different progressions to lead up to a full QDR. Pay attention to your positioning and definitely listen to your body. I’m including some quick breakdown on the static positions, but be sure to watch the video below to also get info on the dynamic positions!

1. The first step to balancing the QDR is to create a supportive tripod using your head as a base. The lead foot is placed on the ground as a balance point to help with stabalization.

12_28_02

2. Next work on increasing your lateral stability by raising your head off of the ground. Keep the balancing foot in place during this progression.

Tumbling Illustrated
Tumbling Illustrated on Amazon

12_28_03

3. For the next progression elevate the balancing foot to increase the load on your elbow and core.

12_28_04

4. Finish off with the static positions slowly releasing the support arm finger by finger and ending with a single arm elbow lever.

12_28_05

Watch the video of Mike as he showcases the static positions and more!

For more single armed maneuvers, check out How to do the One Hand Handstand!

Comments { 0 }

Great Tricks To Try

Skills like hand balancing, hand spins, tumbling, flexibility tricks are serious tricks that can only be achieved through continuous training and practice. Hand spins and flexibility tricks are good way to keep your body in shape even when doing a solo act. While advanced hand balancing and flexibility skills are nicer when done in pair or with a group.

Dan had been practicing some of these skills for the past 2 years, at least. Do you think you can do better in a shorter training time?

Learn How to Back Flip in 31 Days
Learn How to Back Flip in 31 Days on Amazon


Comments { 0 }