Archive | Yoga RSS feed for this section

Handstand Pushup Variations

handstand pushup variations

Handstand pushup demonstrated by Logan Christopher of Lost Art of Hand Balancing


The handstand pushup is an advanced hand balancing skill that demonstrates shoulder strength, scapular mobility, and a proper challenge to those who are willing. But let’s say, for the sake of argument, that you’ve already achieved the handstand pushup, and are looking for something a bit more thrilling…some handstand pushup variations.

(Note: these handstand pushup variations aren’t only for the advanced trainees. In fact, variation 2 and 3 helped me to achieve my first HSPU, so don’t be afraid to try something new!)


Variation 1 : Lateral Handstand Pushup

Well first, what would be the benefit of exploring different handstand pushup variations? Without the variations, there is still sufficient opportunity to progressively improve the intensity of the HSPU and get stronger with each turn. With the variations, however, comes the opportunity to increase all-angle strength in your training.

How to do the One Hand Handstand by Professor Orlick
ow to do the One Hand Handstand on Amazon

For instance, while the basic HSPU does a lot to strengthen your shoulders, traps, and scapular elevation, this lateral HSPU variation trains scapular protraction, retraction, and upward rotation. In addition, as your mobility increases, you can slow down and exaggerate the lateral movement to emphasize your one arm handstand balancing skill.


Variation 2: (Elevated) Backbend Pushup

Furthermore, your posterior deltoid has a critical role in your handstand stability, as it is the primary shoulder hyperextensor. One of my favorite handstand pushup variations to train for developing that strength is the back bend pushup.

The back bend alone is a powerful stability exercise that, with isometric tension, can provide incredible strength. The integrated strength, posterior deltoid strength, and scapular mobility that you can build from the back bend pushup will do wonders to strengthen your HSPU. To increase the difficulty of this exercise, elevated your feet by putting them onto a wall.

As I said, this exercise was a huge part of the reason I was able to develop the strength and range of motion for the HSPU.


Variation 3: Handstand Walking

Often times as kids, we have an easier time walking in a handstand than we do holding a stable handstand. However, having the strength to walk in a handstand position without compromising the integrity of your form can develop your technique, strength, and mobility fairly quickly.

This is one of my favorite handstand pushup variations to couple with the lateral HSPU, because it does the same work to progressively improve balancing strength on one arm, but has a much sharper focus on the shoulders and triceps because…well, you’re walking.

When you’re searching to advance not just in strength but also in skill, especially with hand balancing, be sure to add some fun and variation to your training, and you’ll be sure to see some results. Be sure to let us know in the comments how these variations help you, or if you’ve tried them before. Finally, if these do improve your training skill, be sure to share!

Comments { 1 }

Parkour From Scratch #2 – Climb Up Tutorial – How to start Parkour

Hey guys! It’s been a while. Logan and I have been working on the back-end putting some stuff together for you all and I also caught some nasty bug that’s been going around in my area. I wanted to come back strong with something that could put your autonomy, body feel, and endurance to the test. Today, we’re bringing you another segment of Parkour From Scratch with the Climb Up!

03_9_01

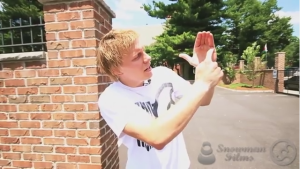
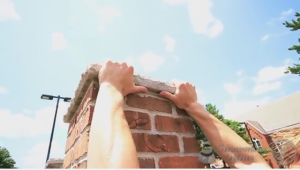
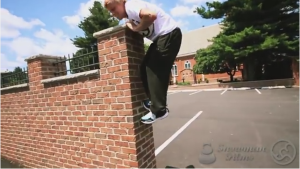
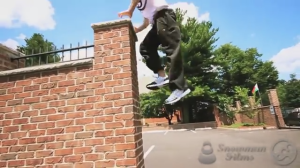
The first thing that TranquilMVMT looks at in this tutorial is your grip when you go into the climb.  Some people prefer to grip with the fingers themselves and others with the base of the fingers. Test it out, and see what works for you!

03_9_0203_9_03

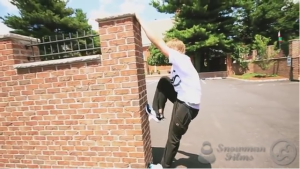
The next thing you want to do is figure out which driving foot you feel most comfortable with. Start first in a hanging squat position and then switch legs to see what would work best. Quick note is also to try and see if how long you can hold yourself up.

03_9_04

Lastly they discuss different ways of driving up from the elbow post, muscles up, and even utilizing a hip drive!(If you don’t know what I mean by hip drive, check out our A-Frame tutorial)

03_9_0503_9_06

Once again their videos are packed with info, so I suggest to watch below and get in-depth!

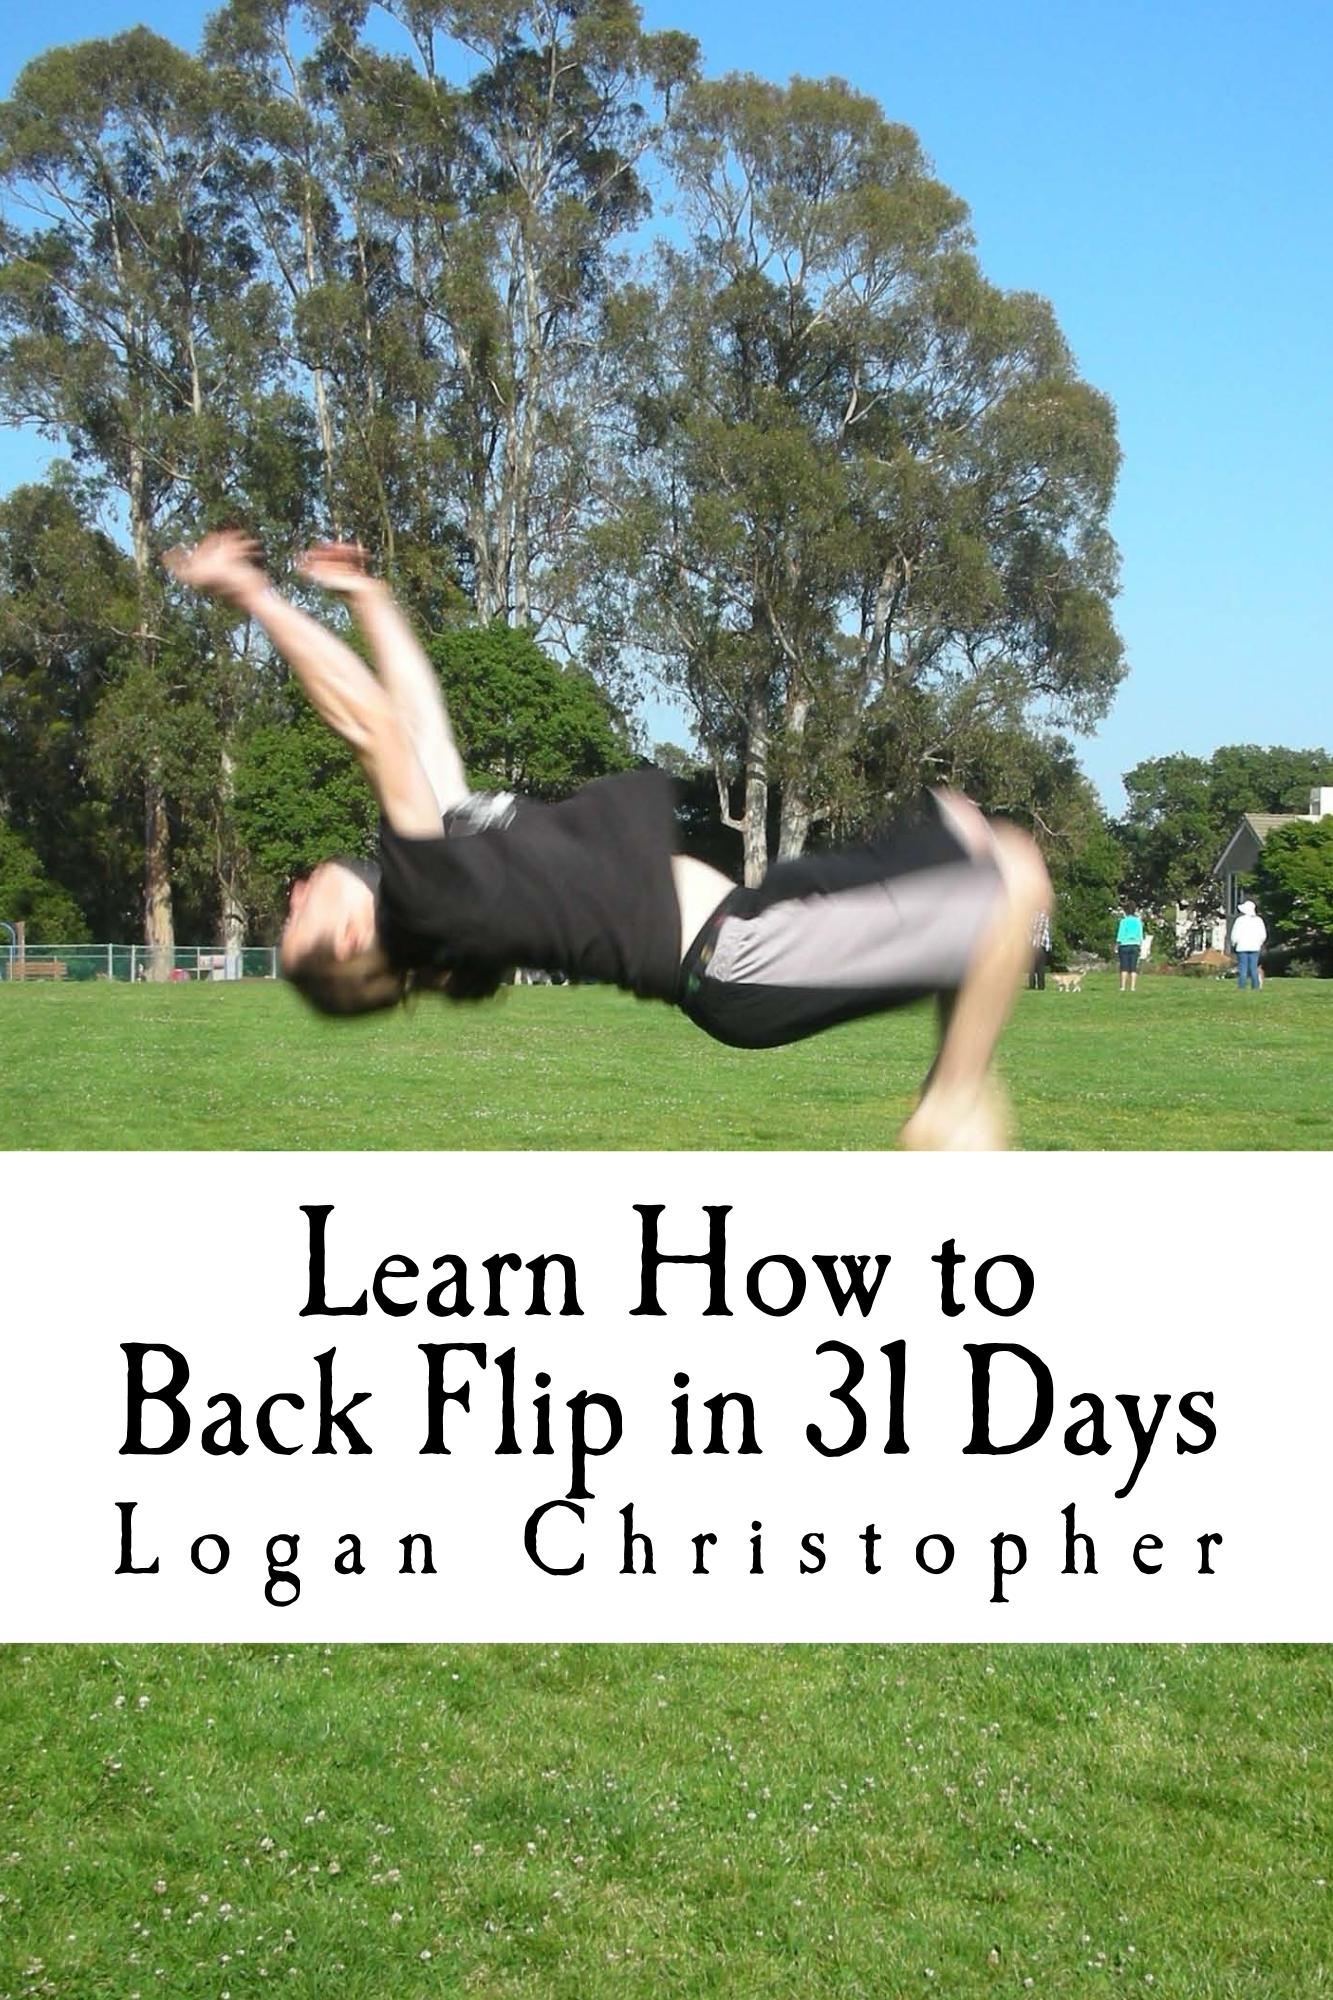
Learn How to Back Flip in 31 Days
Learn How to Back Flip in 31 Days on Amazon

Parkour is all about getting from point A to point B in the most effective way possible. In order to do that, you have to feel mastery over your own body. With that said, we’ve got an awesome deal this month to jam-pack yourself with the information necessary to gain that mastery. Click Here to develop to start you on the course to Advanced Bodyweight Training!

Stay Inverted!
-Coach Jon

Comments { 1 }

AcroYoga Beginner Tutorial – Therapeutic Flying

Hey Everyone! You know that there have been quite a few posts on Acroyoga this month. With it being Valentines (and Deadpool for those of you who caught my Saturday email) month we felt it would be great to showcase a different type of hand balancing with a partner. In today’s post, Noga is going to go over a more therapeutic side of acroyoga involving thai massage!

02_15_01

Hand Balancing Made EasyHandBalancingMadeEasy_on_Amazon

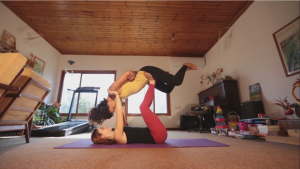
The first position has the base posting on the hips and shoulders of the flyer. They then bend their knees independently or together to open up the flyer’s hips. The flyer should stay relaxed the entire time.

02_15_02

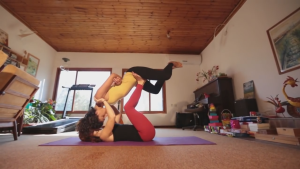
Up next are flyer circles. The base will take the flyer into forward and back circular pattern to open up the shoulder and hips with increasing leverage.

02_15_03

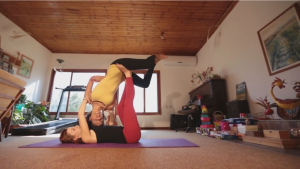
In the next position, Noga runs her flyer through a spinal twist to gain an inverted thoracic stretch.

02_15_04

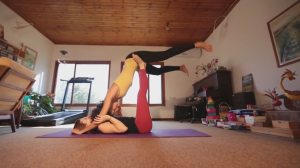
Another stretch is to have the flyer elongate their spine while the base lengthens their position from the ground,

02_15_05

Noga goes through many more positions in the video that you can catch below!

One last thing! Flexibility and core stabilization is key for both the flyer and the base. So don’t forget that Logan and I have a special February deal for the advanced bridging course. Increase your core strength and mobility by going here!

Stay Inverted!
-Coach Jon

Comments { 0 }

AcroYoga Beginner Tutorial – AcroYoga poses (with instructions)

In today’s post, Noga goes over a few different Acro poses that you can do with your partner. Its going to take a lot of coordination, flexibility, and stabilization to put them together so make sure you have a comfortable foundation before you get started!

Tumbling Illustrated
Tumbling Illustrated on Amazon

02_10_01

The first Pose is the Bird to Full Bow.  As you are going through the pose, be sure to keep your arms extended in case your flyer loses balance during the transition.

02_10_02a 02_10_02b

Next up is the Throne to Mermaid Pose.

02_10_03a 02_10_03b

You can also get more detailed info on these as well as catch the other poses Nataraj and High Flying Whale by watching the clip below!

Don’t forget guys, we’ve got a great deal on the advanced bridging program this month. If you’re looking to really increase your flexibility, check it out here!

Stay Inverted!
-Coach Jon

Comments { 0 }

AcroYoga Beginner Tutorial – Straddle Bat

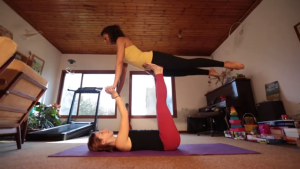
Ok guys! In today’s post, we’ll be jumping once again into the AcroYoga series with Noga. Today Noga will be working with the Straddle Bat or Back to Bat Position.

Walking and Jumping On Your HandsWalking and Jumping On Your Hands on Amazon

02_3_01

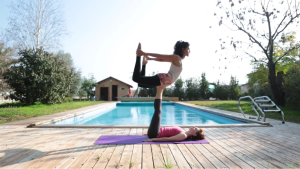
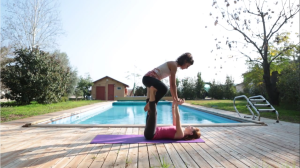
She starts out by placing having her flyer rest their glutes on her feet. The flyer leans back and clasps the hands of the base.

02_3_02

Next the flyer releases the hands of the base and stabilizes on the feet.

02_3_03

The flyer slowly leans back and the base creates a new post on the flyers shoulders.

02_3_04

Finally the Flyer becomes inverted into the straddle position. (Note the change in foot placement.)

02_3_05

To get the full tutorial with tips, watch the video below!

Allright guys! As you can see flexibility on the part of the flyer is important for this position. If you want to build a strong back with mobility and stability check out our Advanced Bridging Course here!

Stay Inverted!
-Coach Jon

P.S.  Stay tuned for Friday as we’ll be unveiling our new set of 1 min tips that will help you build a strong foundational base for your acrobatic skills!

Comments { 0 }

AcroYoga Beginner Tutorial – Throne

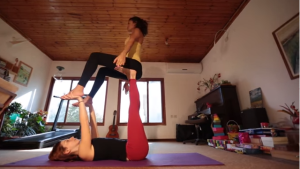
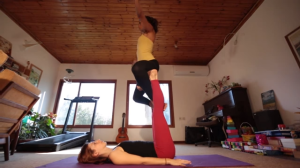
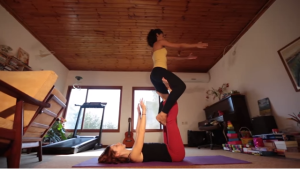
In today’s post. We’ll be revisiting Beginner AcroYoga with the The Throne Tutorial. Noga runs you through four different variations as well as spotting tips.

02_1_01

1) The first position is the Basic Mount.

02_1_02

2) Next Noga runs you through the Straddle Throne position.

02_1_03

3) Followed by it’s opposite, the Reverse Throne.

02_1_04

How to do the One Hand Handstand by Professor Orlick
ow to do the One Hand Handstand on Amazon

4) Finally, she takes you through your first transition with the  Bird to Throne position.

02_1_05

Take a look at the full video below!

If you want to get better at hand balancing with a systematic approach, check out our Handstand Mastery Course!

Stay Inverted!
-Coach Jon

Comments { 0 }

AcroYoga Beginner Tutorial – Front Bird

01_22_01

Ultimate Guide to Handstand Pushups
Ultimate Guide to Handstand Pushups on Amazon

For today’s post, we’ll be looking at the Front Bird Tutorial. Noga goes over quite a few tips involve safety and balance. Be sure that you are ready we the base, the flyer, and the spotter. Watch the video below to learn your first move!

Increase your flexibility and stabilization with the Tiger Bend.

Stay Inverted!
-Coach Jon

Comments { 0 }

Yoga Scorpion Handstand Tutorial

The Scorpion handstand is a quite difficult move, where you bend your back and knees while in a handstand and touch the head with your feet or toes. Check out this video from Kino to see how it’s performed and what you can do to achieve it.

According to Kino, there are three main things to watch for before trying out the Scorpion handstand, also known as vrischikasana.

First of all, you need to be able to to confidently hold a straight handstand for a reasonable amount of time, like ten seconds.

Secondly, back bend or your spine flexibility needs to be fairly developed to be able to perform the Scorpion handstand. If not, you’ll need to work on improving that flexibility before trying out vrischikasana.

Finally, you need to be relaxed and calm in order to let your body open and avoid tipping forward.

The True Art and Science of Hand Balancing
The True Art and Science of Hand Balancing on Amazon

Most people looking to achieve this move do not have much problems with holding a handstand or being in a calm state of mind, but they do suffer from lack of flexibility. Check out this resource to improve flexibility and increase your range of motion. 

Comments { 1 }

13 Yogi Ways Into a Handstand

This video features 13 different ways to get up into a handstand.

Tumbling Illustrated
Tumbling Illustrated on Amazon

Specifically, as a yoga practice these are known as Uttanasana, Bakasana, Titthibasana, Adho Mukha Svanasana, Konasana, Navasana, Kukkutasanana, Padmasana, Supta Kurmasana, and Urdhva Prasarita Eka Padasana.

And if you don’t speak ancient languages you’ll see a

  1. Straddle press
  2. Tuck press
  3. Pike press
  4. Advanced frogstand or crow pose press
  5. Standing front split pressup
  6. Stalder Press
  7. An odd looking jump up
  8. Different version of a crow
  9. Lotus pressup
  10. Different version of a Stalder
  11. Different version of the lotus
  12. Vsit tuck to press
  13. Crazy legs behind the head pressup

This guy has some great flexibility…

Comments { 9 }

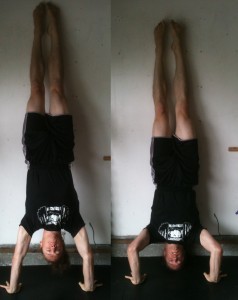
How to do a Headstand for Beginners

A headstand is an intense display of upper body strength. To attempt it without proper preparation could lead to severe personal injury or permanent damage to your body. It is also probably not best for you to jump into something like the headstand without having any idea of what you’re doing. It’s important to build on your core and shoulder strength before attempting to learn how to do a headstand for beginners. This is one of the more enjoyable and extreme gymnastics moves to master, and it’s best to have someone with you to spot you when you’re first learning on the process of a beginner’s headstand. People commonly feel refreshed and revitalized after being in an inverted position such as the headstand.

Preparing to Enter the Headstand

  • While facing a sturdy wall, lower yourself onto your elbows and knees.
  • Keep your hands together in front of your head and place the center of the top portion of your head down onto the mat.
  • Make sure that you never put the back portion of the top of your head down on the mat.
  • If you can’t go exact center, further to the front is acceptable.
  • Keep your elbows fairly close together by lining them up under your shoulders. Keep your breathing controlled and steady.
  • Now, straighten your legs by lifting your knees and buttocks and bringing your heels off of the ground. Rock back and forth on your toes a bit to get loosened up.

Entering and Exiting the Headstand Pose

The last step to learning how to do a headstand for beginners is to actually do the headstand.

  • Start walking your feet, on their tiptoes, closer and closer to your head.
  • Once it feels right, lift one of your legs up to the wall.
  • Let your other leg follow the first one up; this is a great time for your spotter to step in and help you straightened up.
  • While you’re in this pose, take some deep cleansing breaths. If you feel comfortable, close your eyes and count to five.
  • Don’t stay in an inverted pose like this for too long at a time.
  • Make sure that you do this slowly and in a controlled way.

Part of learning how to do a headstand for beginners is to learn how to make every movement involved steady and controlled. It keeps you from injury as well and helps strengthen your body against its own natural resistance.

Ultimate Guide to Handstand Pushups
Ultimate Guide to Handstand Pushups on Amazon


Comments { 0 }